The practice of pressing flowers is at least as old as the herbarium — which is to say, it is at least five hundred years old in documented form, and almost certainly much older in practice. The first botanical herbaria were made in 16th-century Italy by physicians who needed to record the plants they worked with. They pressed specimens between sheets of paper, dried them under weight, and mounted them on vellum. The oldest surviving herbarium dates to 1532.
What they discovered — what every person who presses a flower eventually discovers — is that the result is not quite what you started with. The pressing is a translation, not a copy. Color shifts. Dimension flattens. Moisture leaves and the cell structure compresses. What remains is the form: the arrangement of petals, the logic of the stem, the precise geometry that made the flower what it was. The flower's idea of itself, pressed permanent.
How I Actually Learned
I am not the kind of person who reads the book first. I figure out how to do the thing, fail at the thing, and then — sometimes — read the book to understand why it went wrong. This is how I learned to press flowers.
It started the way it starts for most people who don't know they're starting: a walk, a flower too good to leave, a beautiful old book picked up for twenty-five cents at a thrift store. The paper in those books is nothing like purpose-made pressing paper. It is thin, almost tissue-weight, porous in a way that feels wrong for the task. And yet it works. It works better, in some ways, than anything designed for the purpose — the pages wick moisture as if they were built for it, hold the form without imposing on it, and release the flower months later in the same condition it went in.
The other thing about pressing a flower in a book: you may not remember it's there until you pick up the book again. Maybe tomorrow. Maybe in three years. The design of the book builds that in as a feature. I have never opened a thrift store novel and found a ruined flower. The book seems to know.
What Presses Well. What Doesn't.
Not all flowers translate. This is one of the first things you learn.
Presses beautifully
- Larkspur — holds color, lies flat naturally
- Columbine — complex form, presses with full character
- Forget-me-nots — tiny, perfect, faithful
- Pansies — already almost flat, color-fast
- Goldenrod — clusters press as a unit
- Queen Anne's Lace — becomes lace again, better
- Ferns — every frond a study in patience rewarded
- Viola — presses within days, lasts decades
Requires skill and patience
- Roses — must be disassembled petal by petal
- Tulips — thick, moisture-heavy, color-shifts dramatically
- Zinnias — benefit from face-pressing and extra weight
- Dahlias — layers create uneven pressure; press in sections
- Celosia — press quickly or color muddles
- Daylilies — press individual petals separately
- Lavender — best pressed in bud, before full opening
The Press Itself
A flower press is two flat boards, bolted together with wing nuts, with layers of cardboard and blotting paper between them. That is the whole device. The cardboard wicks moisture; the blotting paper draws it away from the flower; the boards distribute weight evenly. Tighten the wing nuts as the flowers dry — they will compress further and the pressure must keep up.
The press in this studio was made by hand — by a member of the High Frequency World community named Paige Wilson, who lives in Utah and makes these presses and makes art, and who is just beginning. She sent this one as a gift. When it arrived, I couldn't speak.
It is a large piece of wood — heavy, serious, built to work. And then she burned the whole surface. Pyrography. A central medallion of dandelions in every stage of their life: seed head, open bloom, bud, stem in full reach. A botanical illustration rendered in fire, hand-colored in sage and gold. Around it: an ornate border of vines, roses, lilies, and six-petaled stars at each bolt hole, each one also burned and painted. The detail is the kind that makes you stop and look for the part that slipped, and you cannot find it.
I can feel her in this piece. And that has its own kind of magic.
She is just beginning. If you want one for yourself — and you will — find her work and ask her. A press this alive makes better work come through it. I am certain of this.
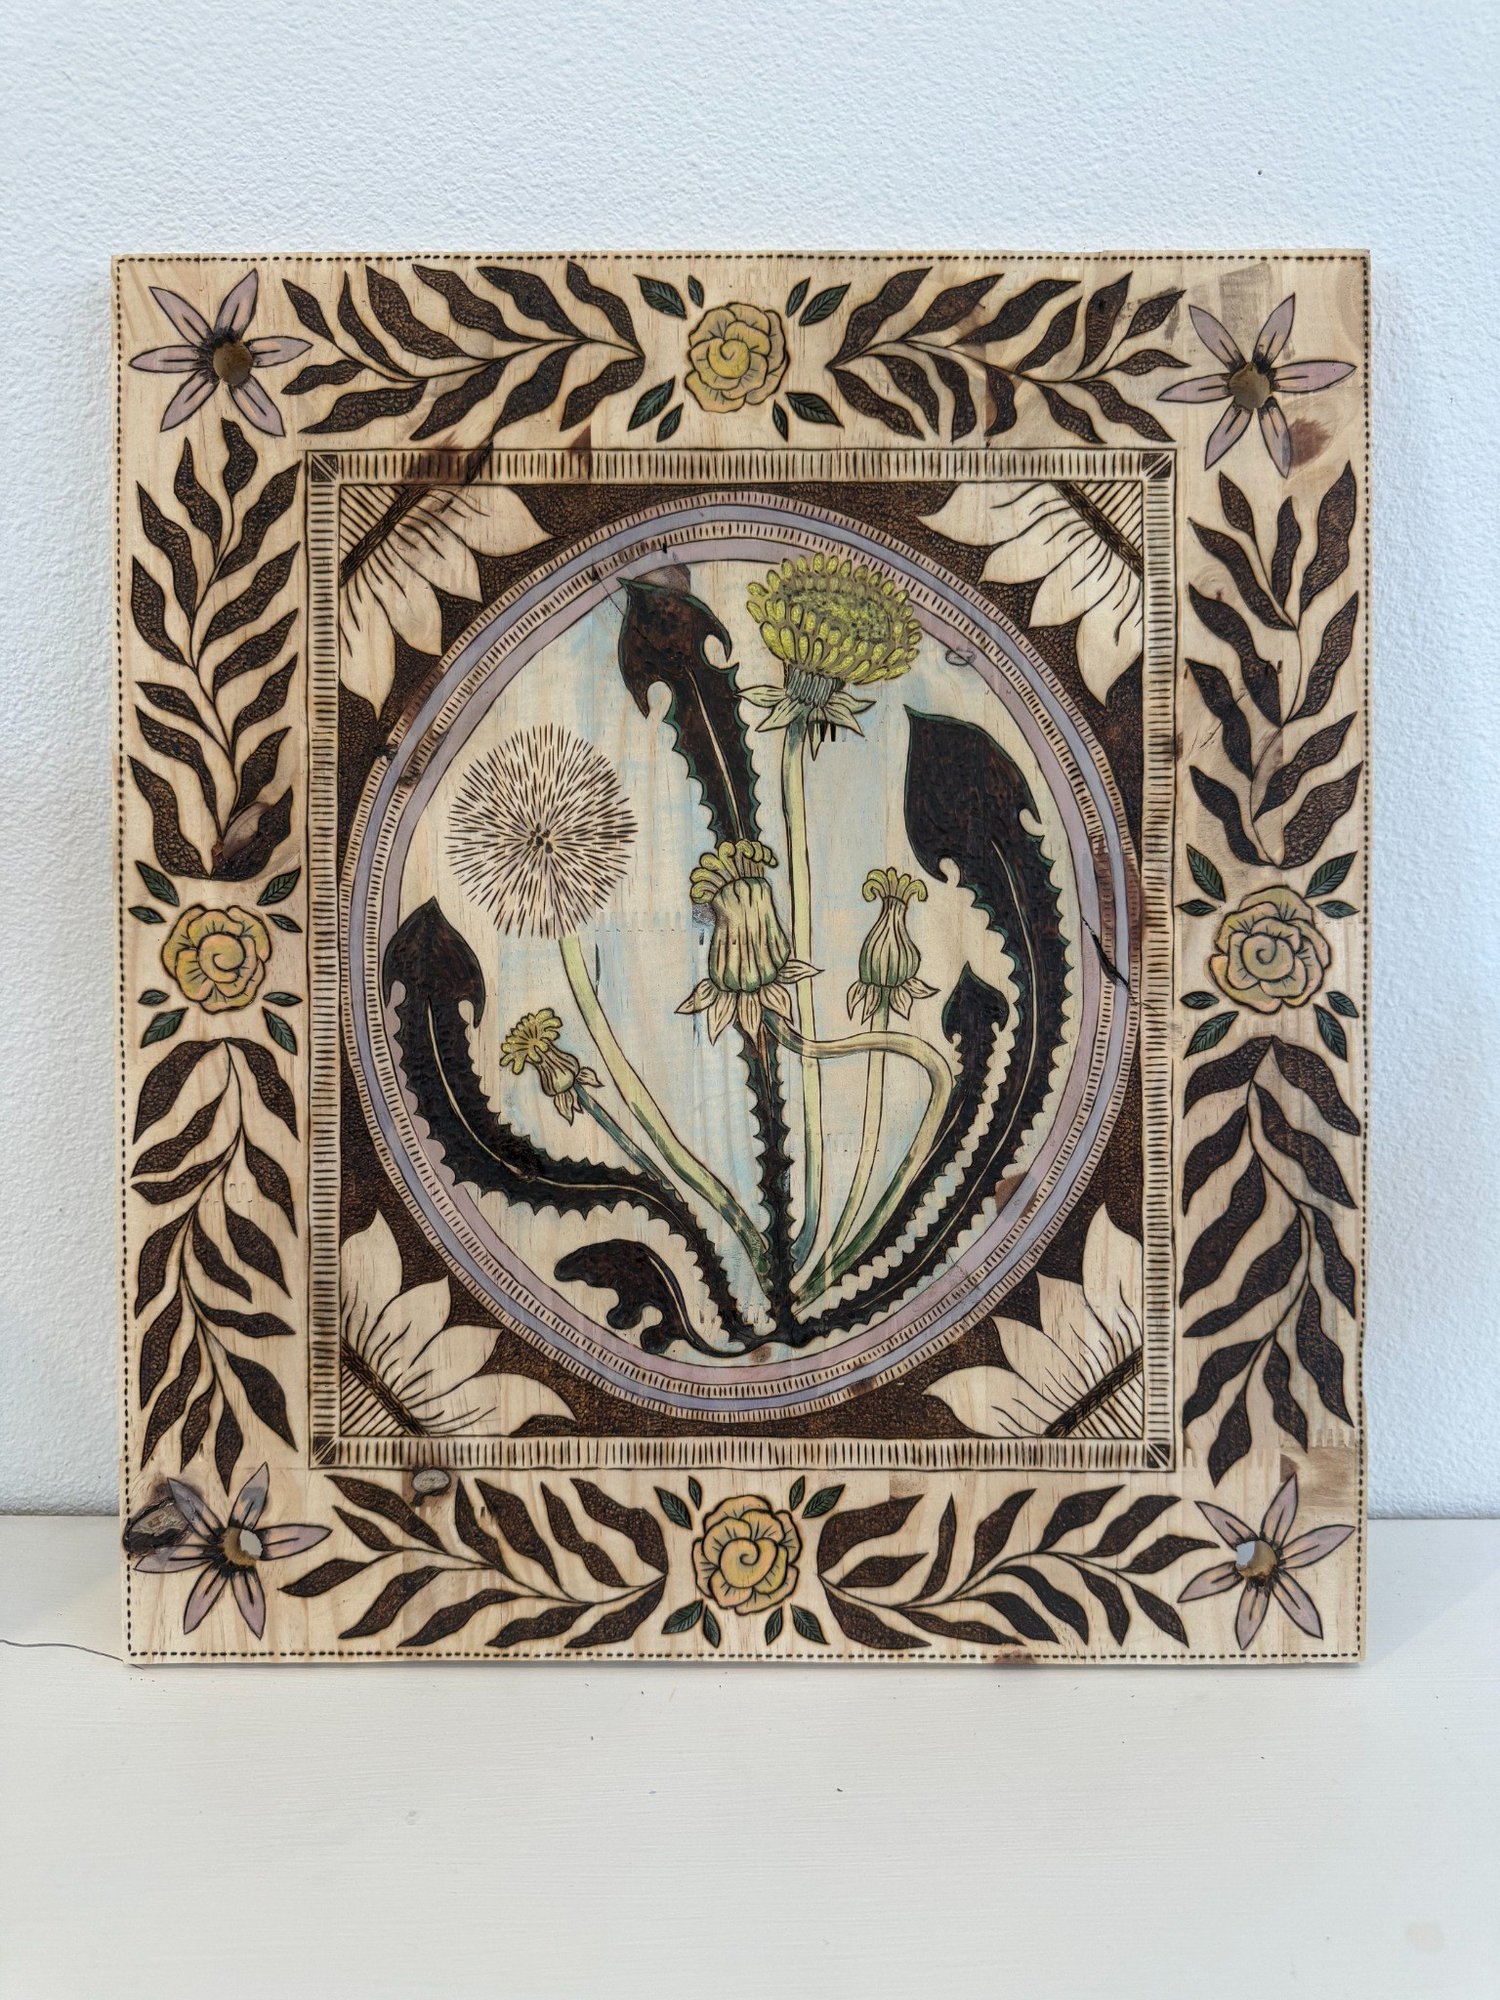
Luli — pyrographic art on hand-cut wood, by Paige Wilson, Utah
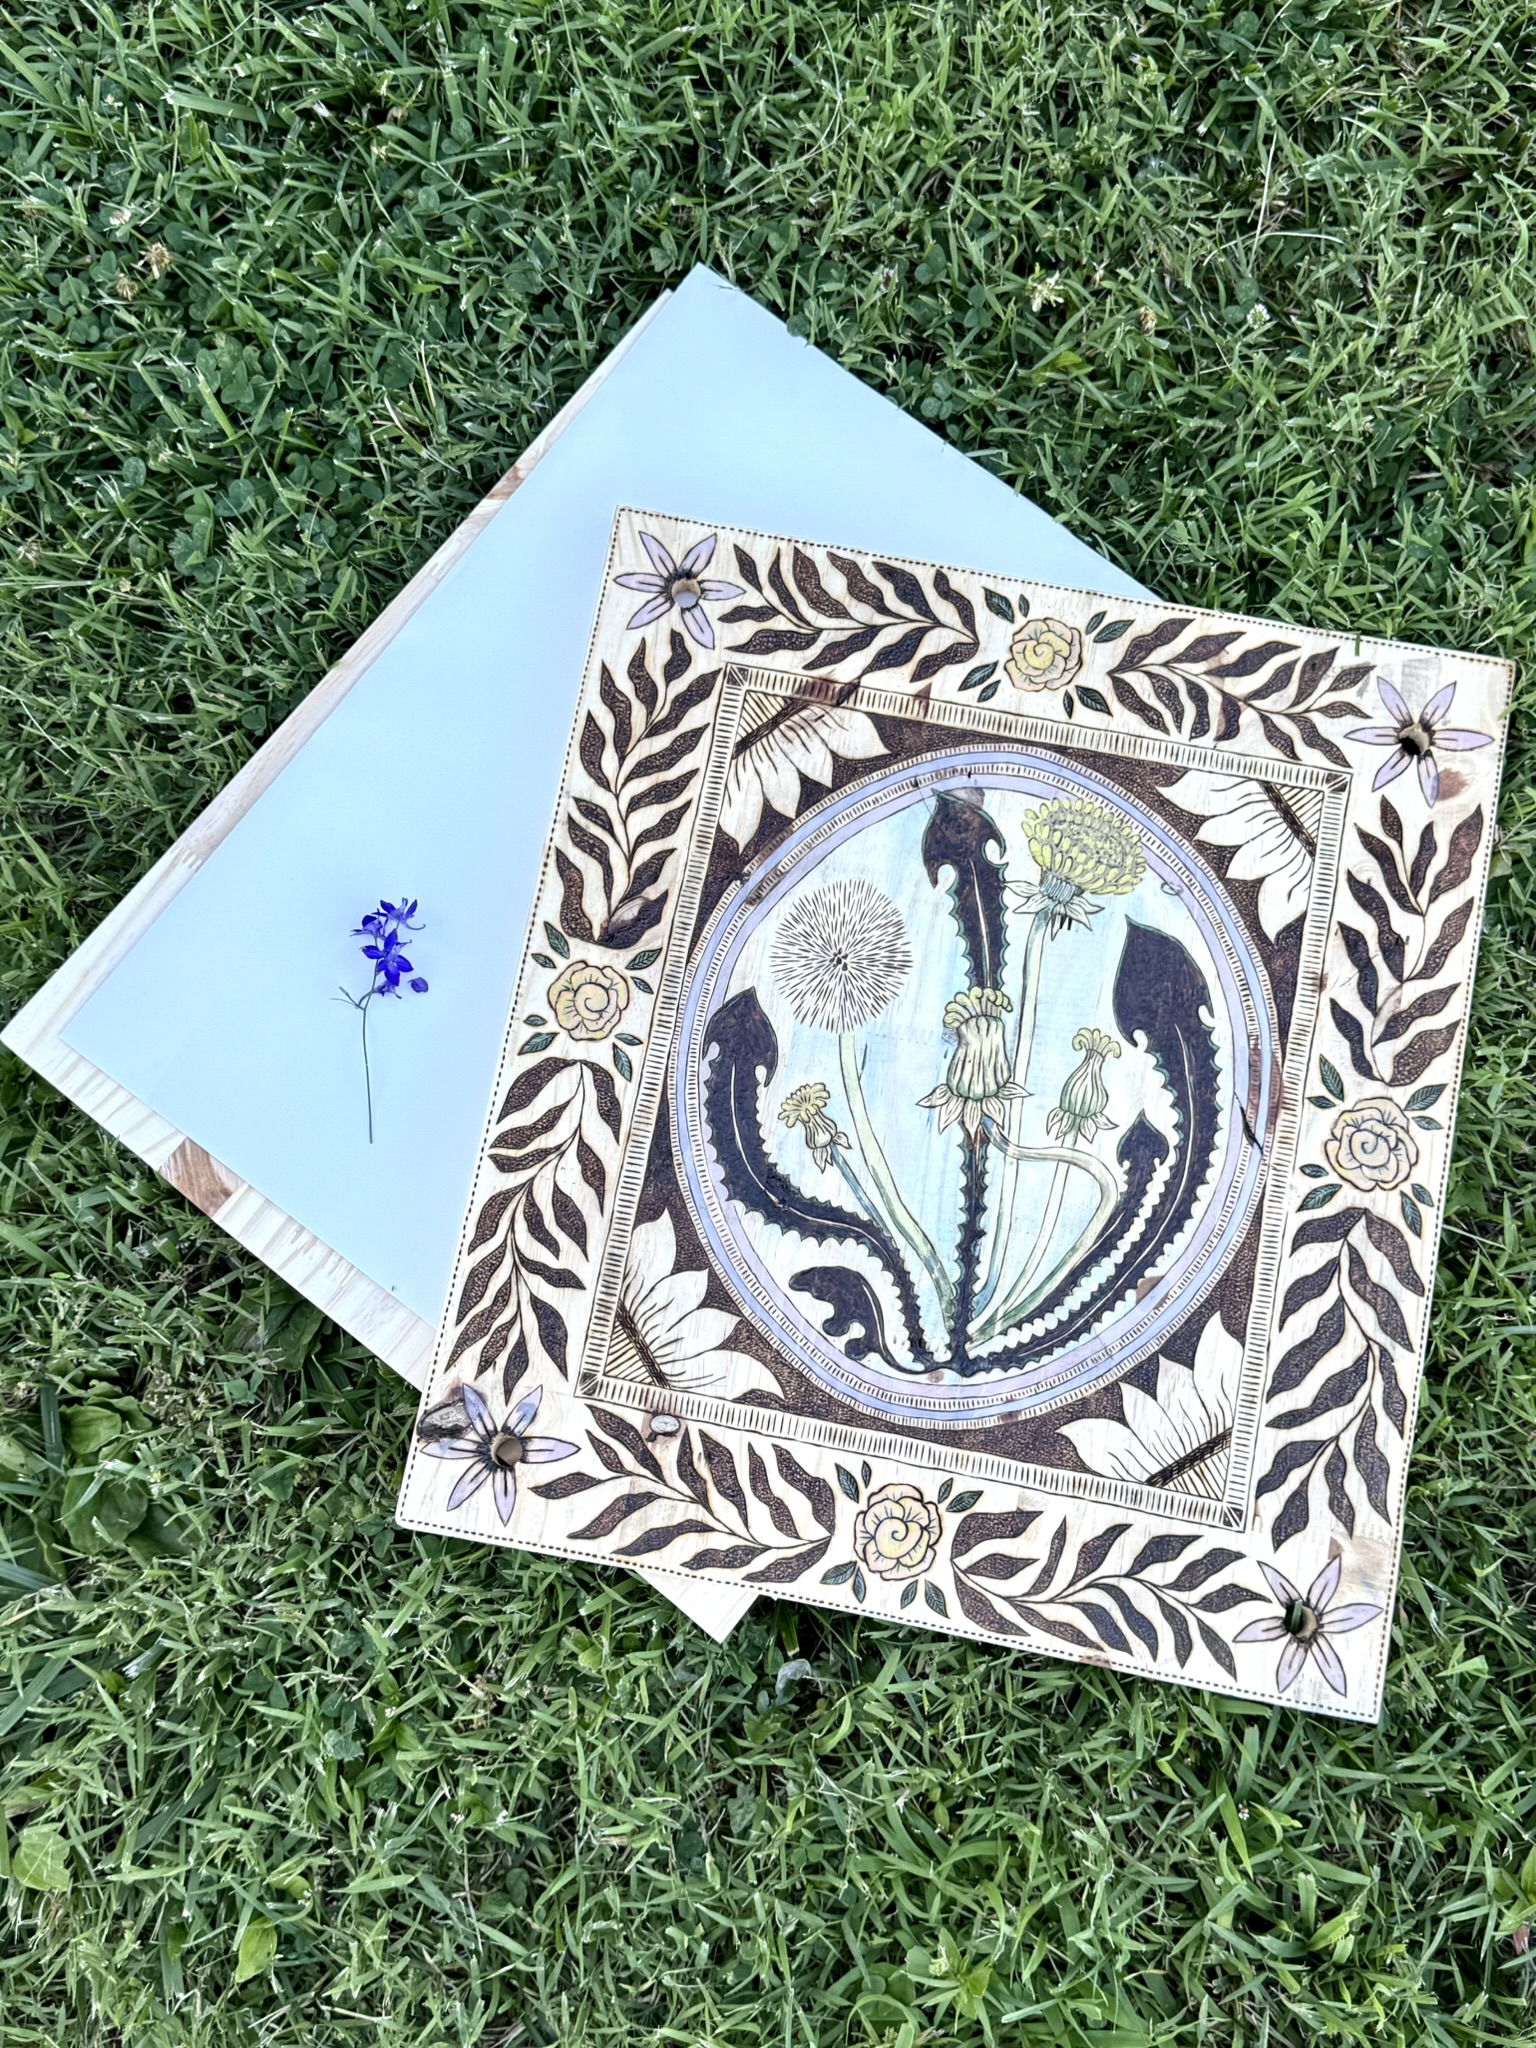
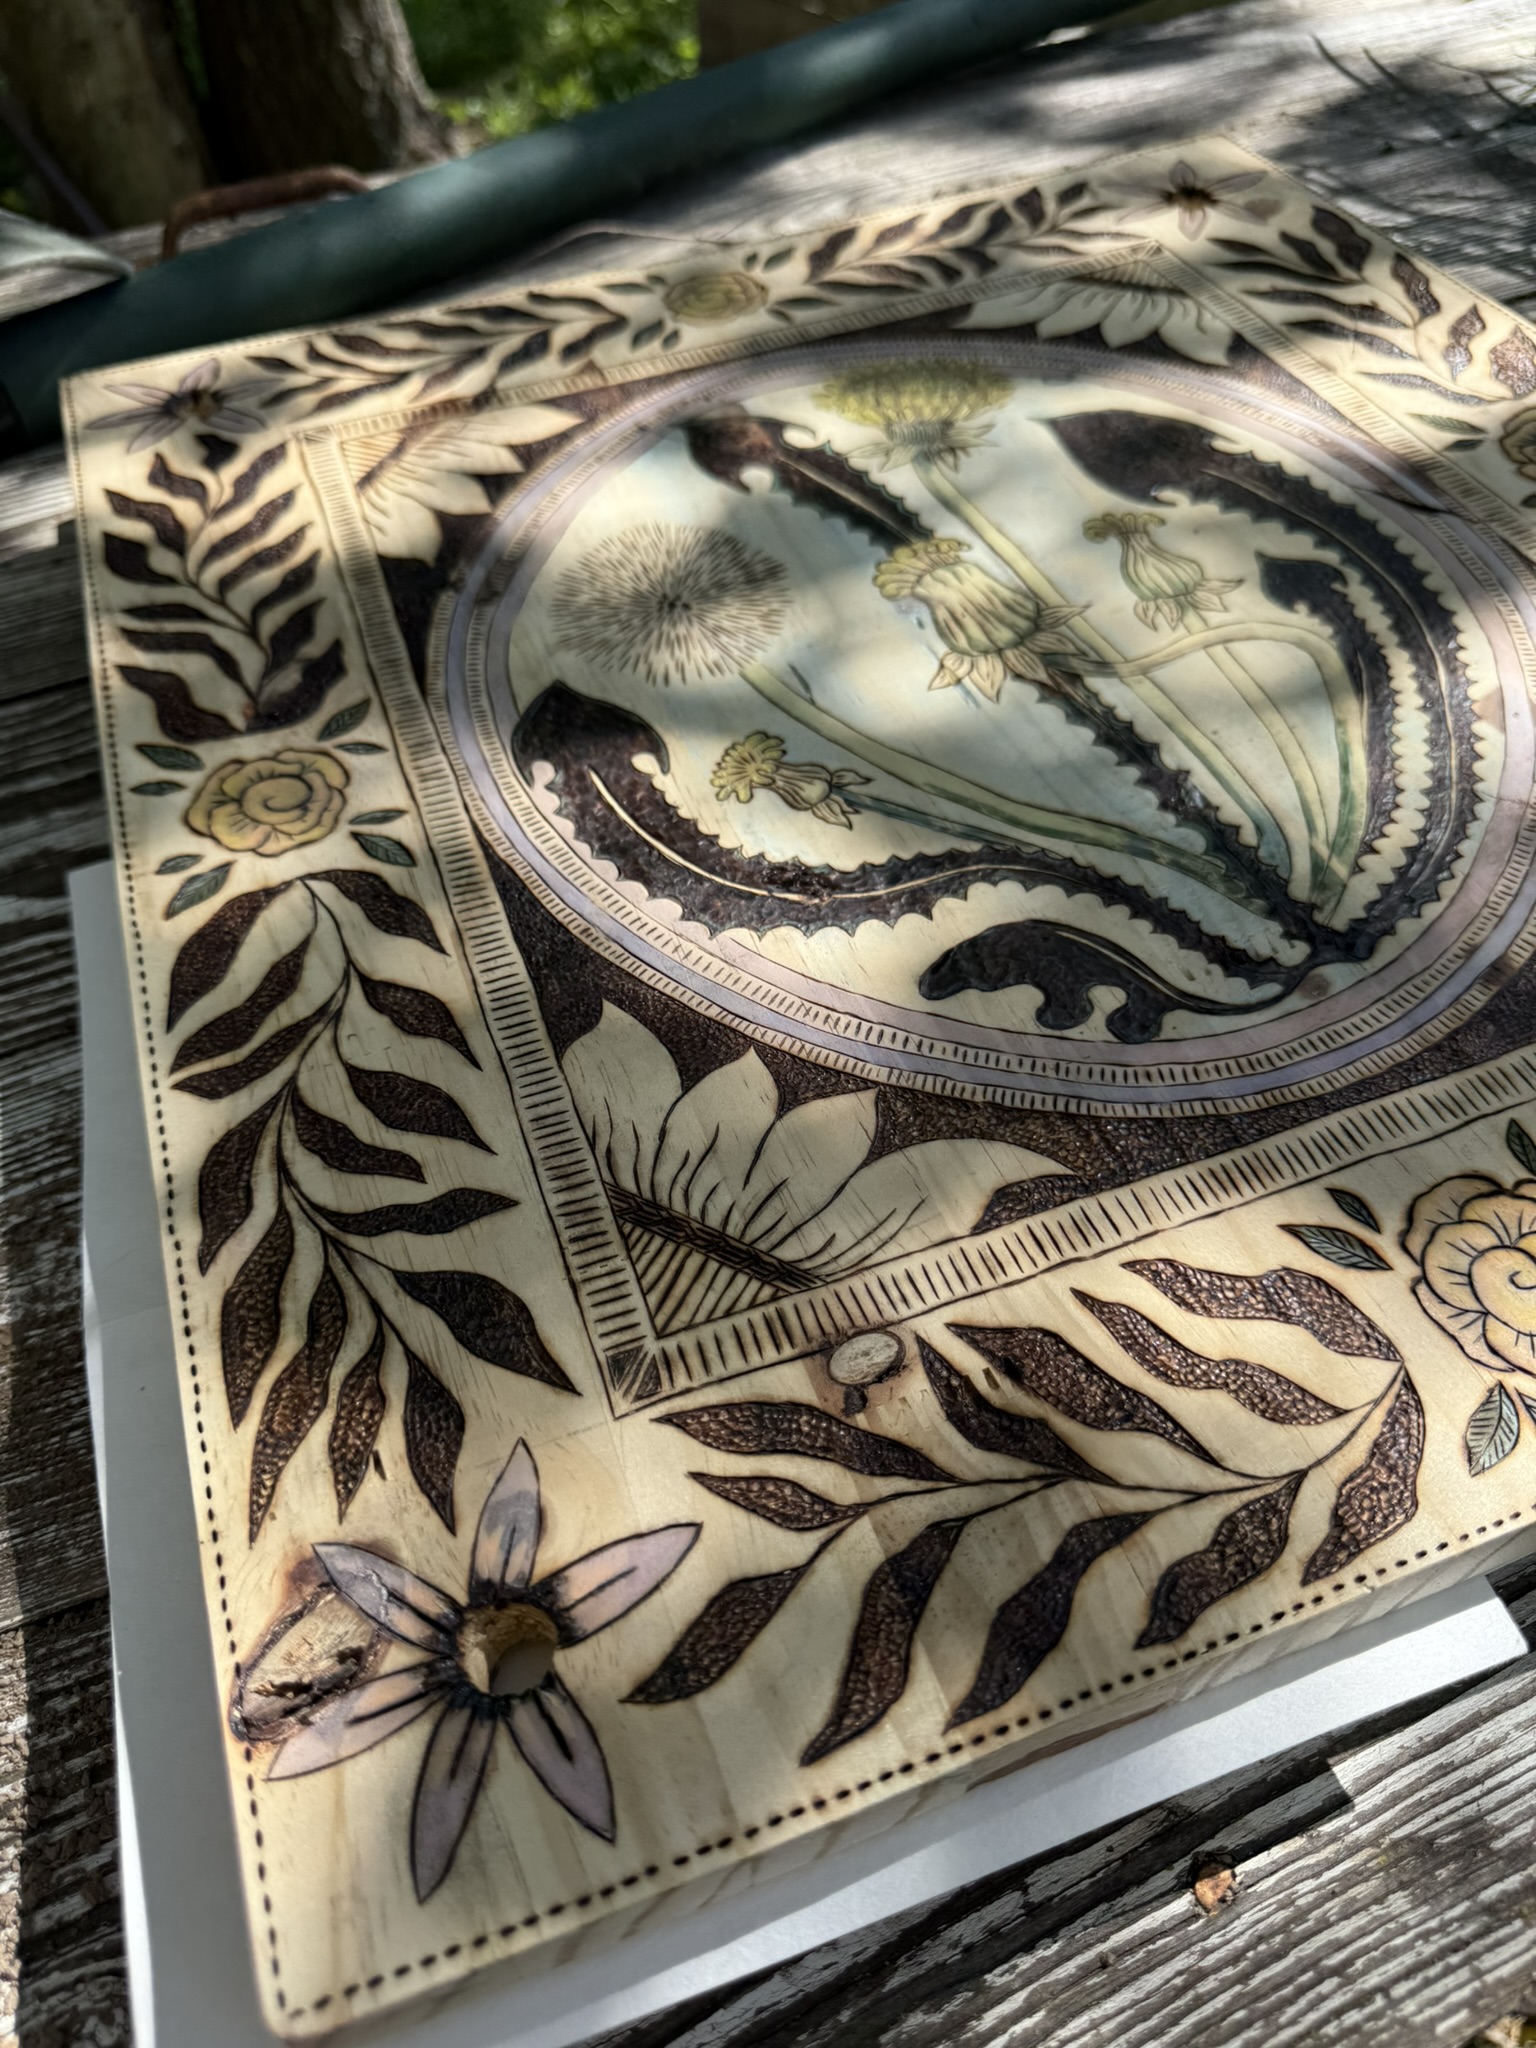
The interior, open for use — and the detail that made me stop counting how long I'd been looking
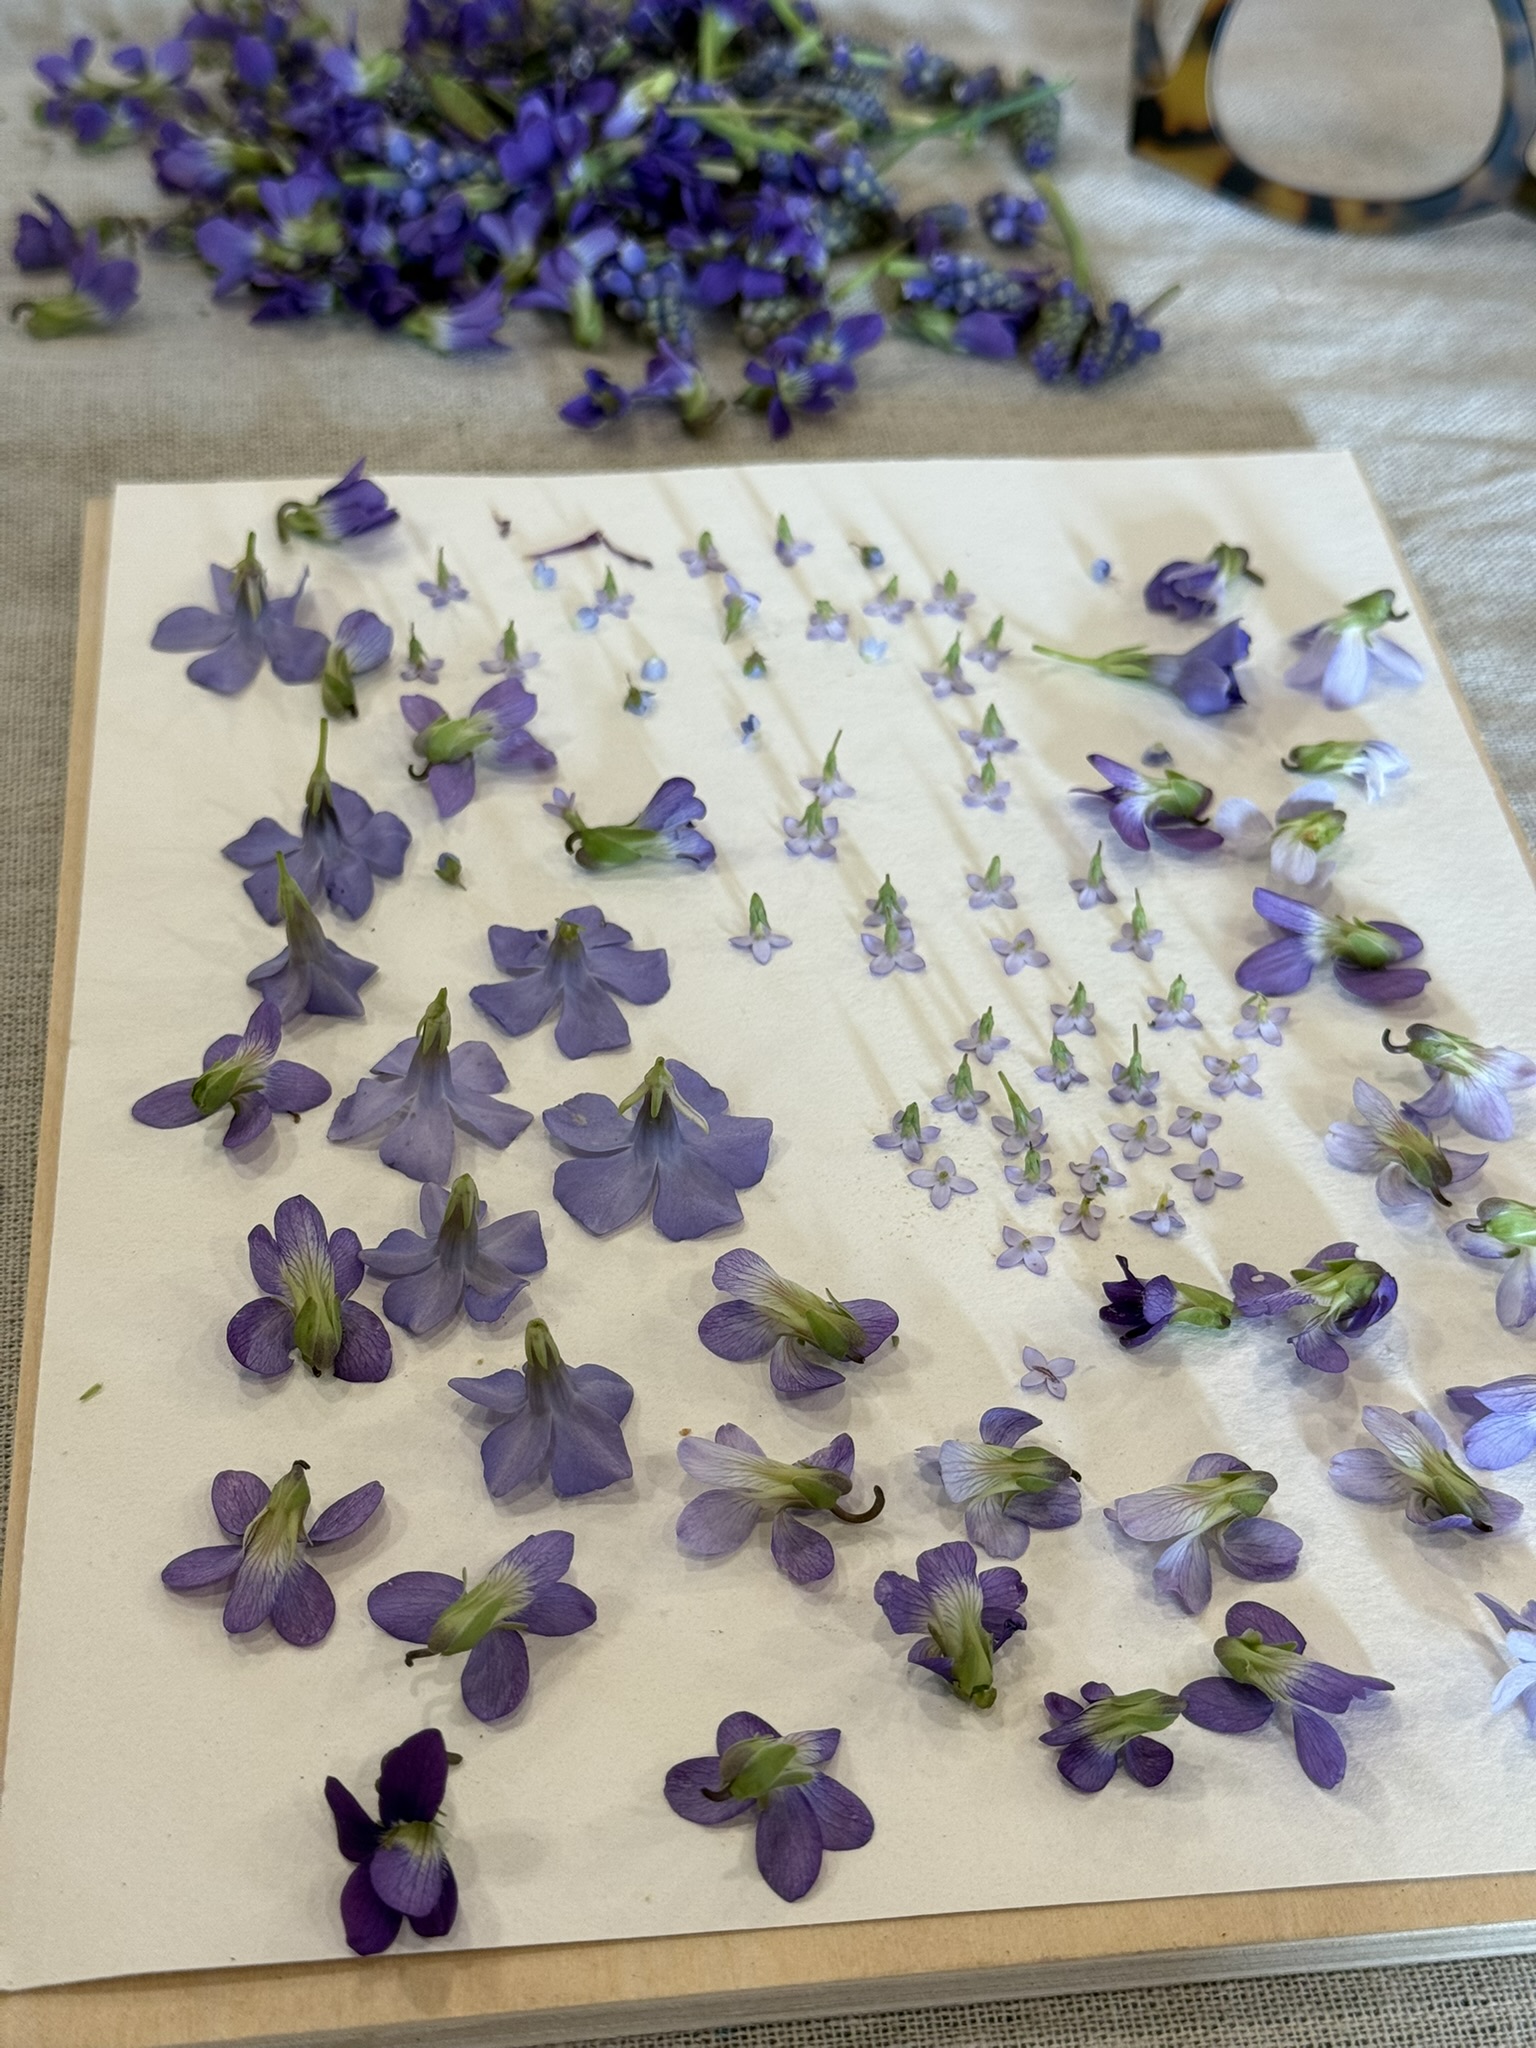
Violets and periwinkle laid on parchment — the moment before the press closes
The Tile Method
The press Paige made lives on the studio table and is almost always in use. But I press so many flowers that I need the whole studio working simultaneously.
My husband has made large plywood presses. I use small squares of plywood with clamps. I use clip presses and Velcro-cinch presses for thicker specimens. And I use something no pressing tutorial has ever told me to use: two-foot ceramic tiles from the hardware store.
They don't have to be beautiful — mostly just flat, without pattern or raised line. What they have is weight. Pure, even, unrelenting weight. I lay muslin down, then blotting paper, then the flowers — stems offset against each other, layered up into a tower — then more muslin, more blotting paper, then the second tile on top. The mass of it does the first work: it collapses the verticality out of the flower fast, flattening the form in ways that a lighter press takes weeks to accomplish.
But the tile press is closed. The moisture has nowhere to go. Leave things in too long — past a week, sometimes less, depending on how much water a flower carries — and you open it to find rot, mildew, a ruin. I learned this by opening a tile press too late. So now the tile press is only the first stage: collapse the form, take the bulk out. Within a week, I pull everything out, swap the blotting paper, and move the specimens into a more open press where air can reach the sides and the slow, breathing part of the process can finish the work.
For the native red columbine — which juts and angles and refuses to lie flat — I use something different still. I lay it out on a commercial baking sheet with muslin underneath, and I place my mother's river stones on it: selectively, deliberately, one stone on the thick cluster where the stem meets the bloom, another on the angle that wants to spring back up. The stones do what a press board cannot — they press one specific place while leaving the rest alone. It is preparation before pressing. The columbine goes in flatter for it, and comes out whole.
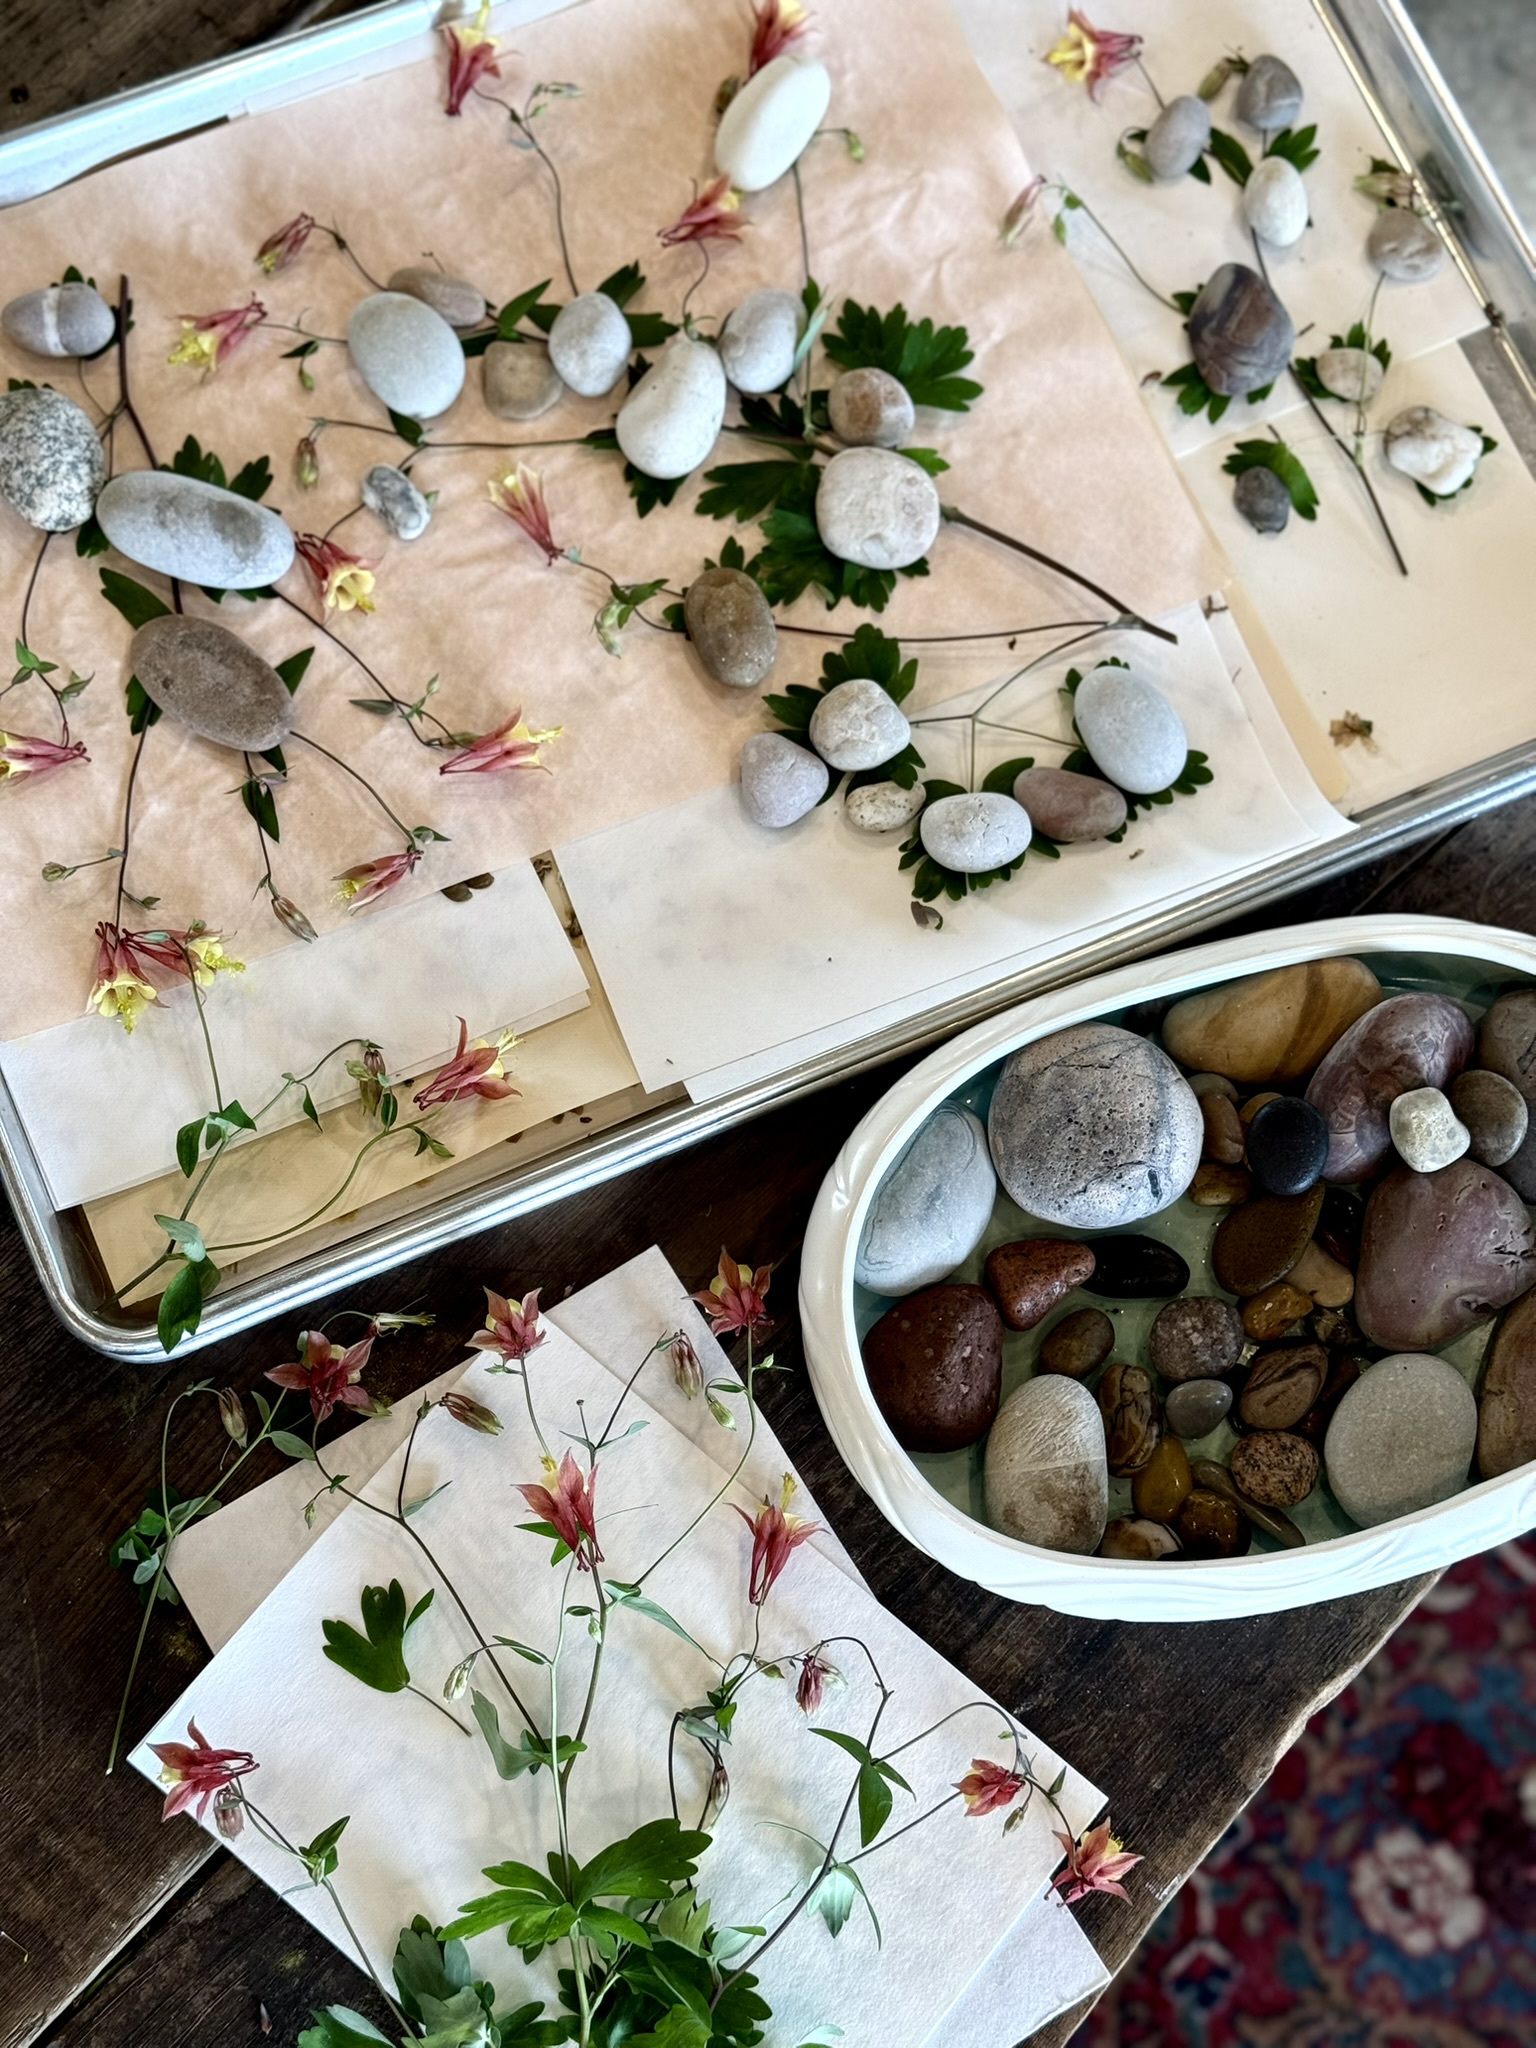
The columbine operation — baking sheet, blotting paper, and stones placed where the plant needs them
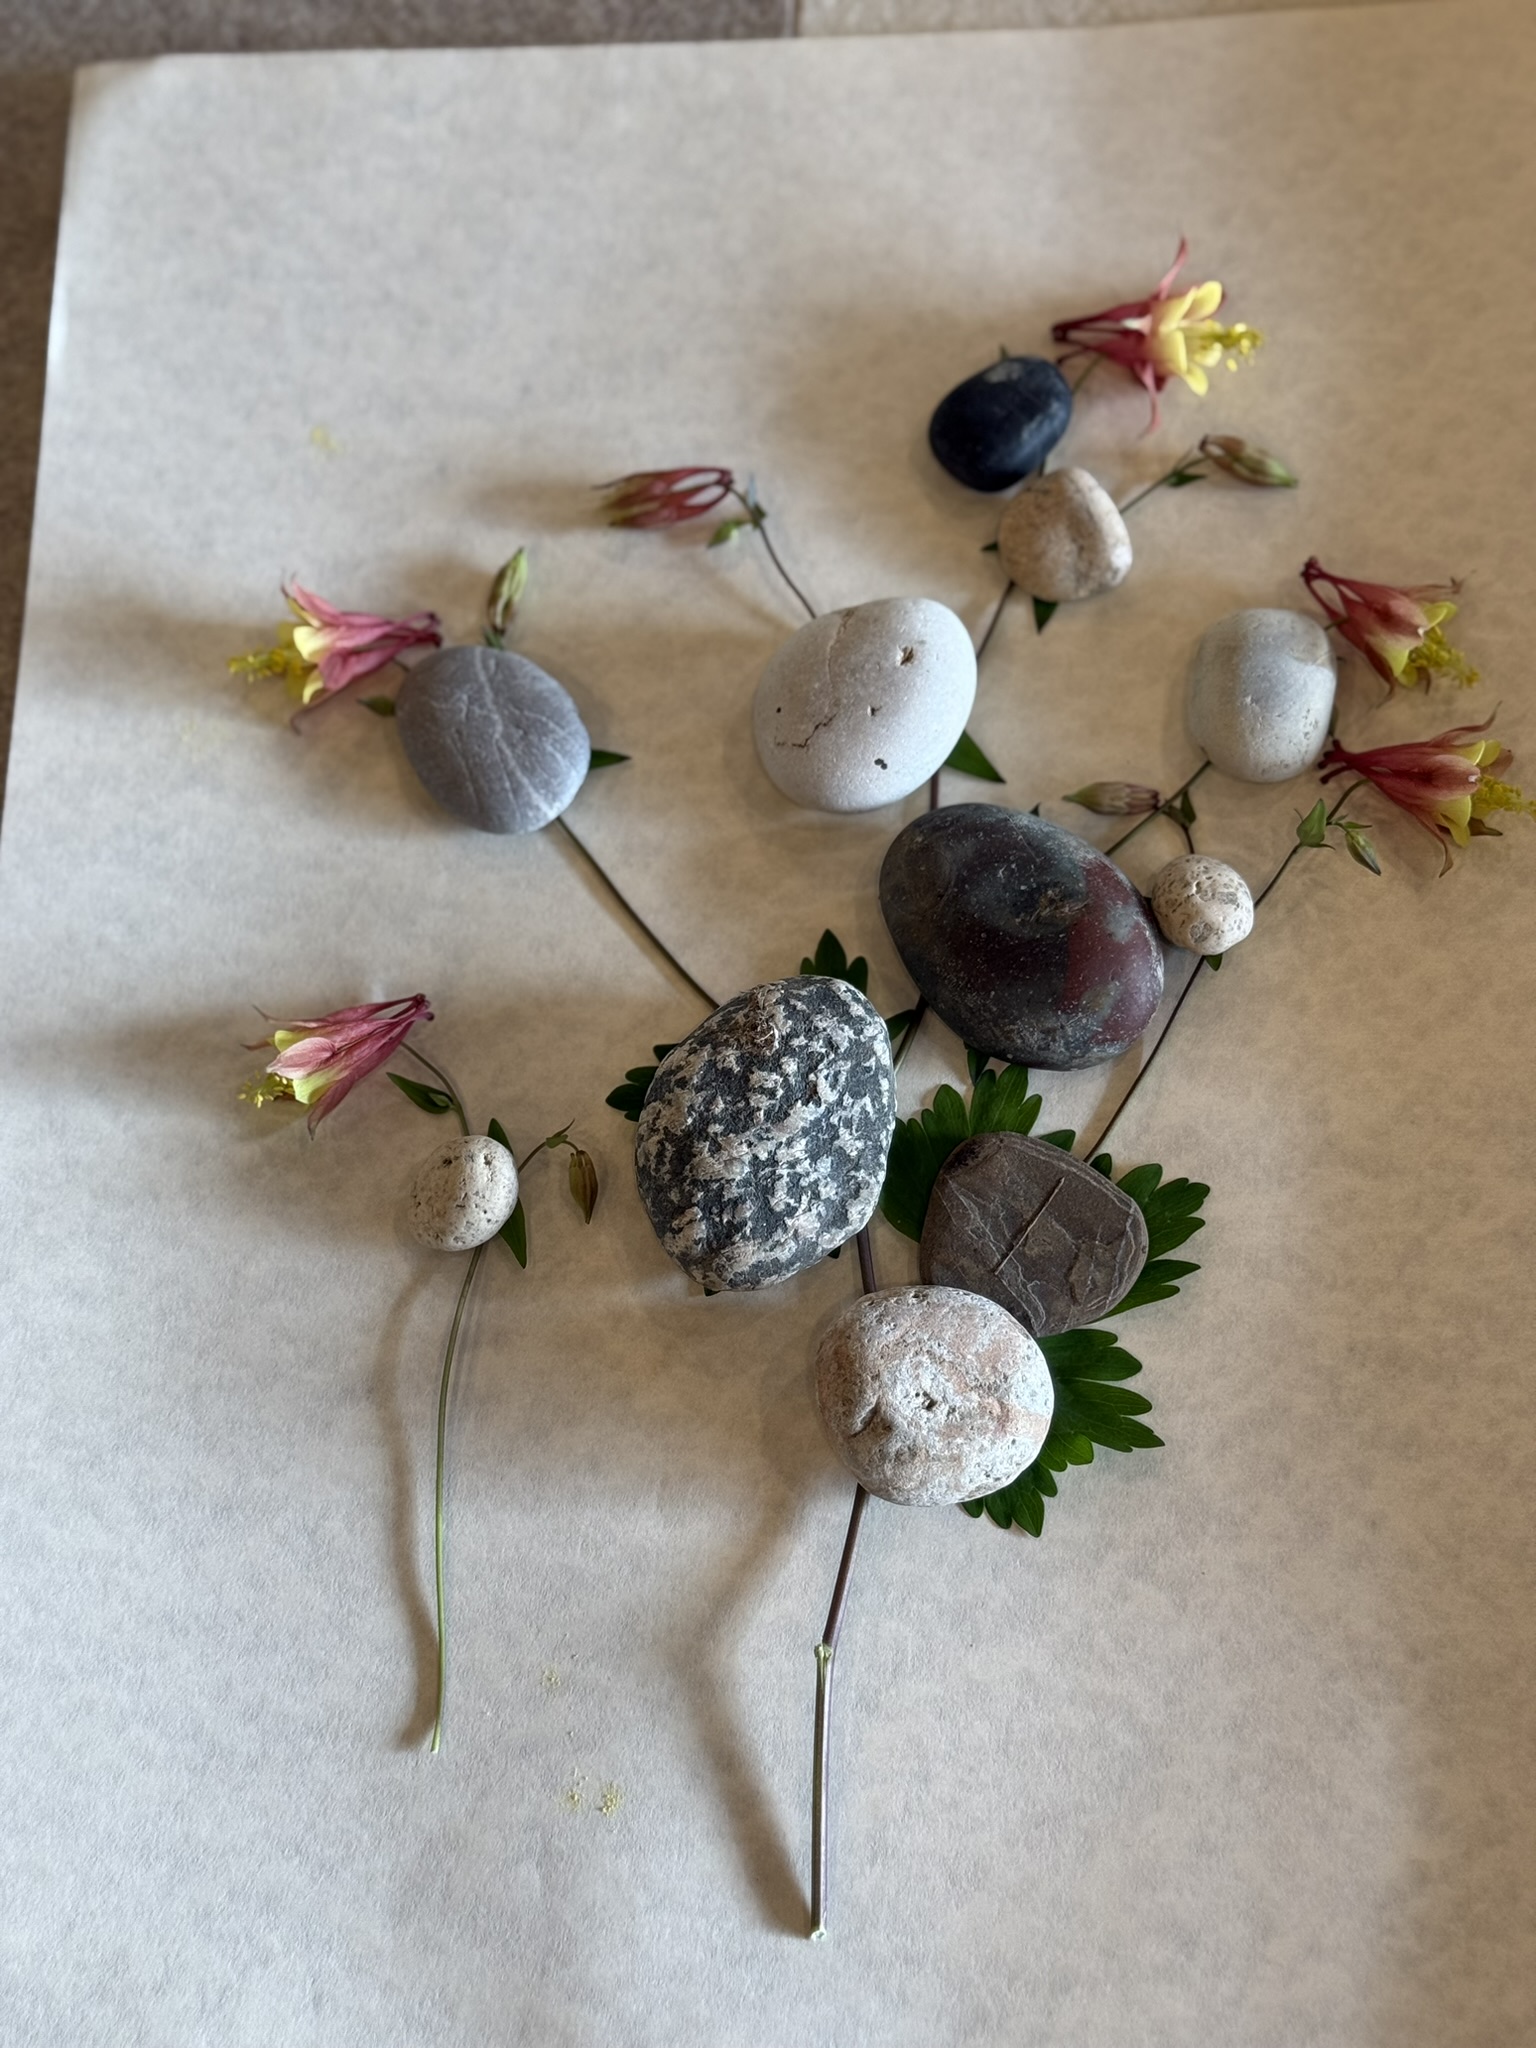
Each stone placed for a reason — and the press waiting to receive what's ready
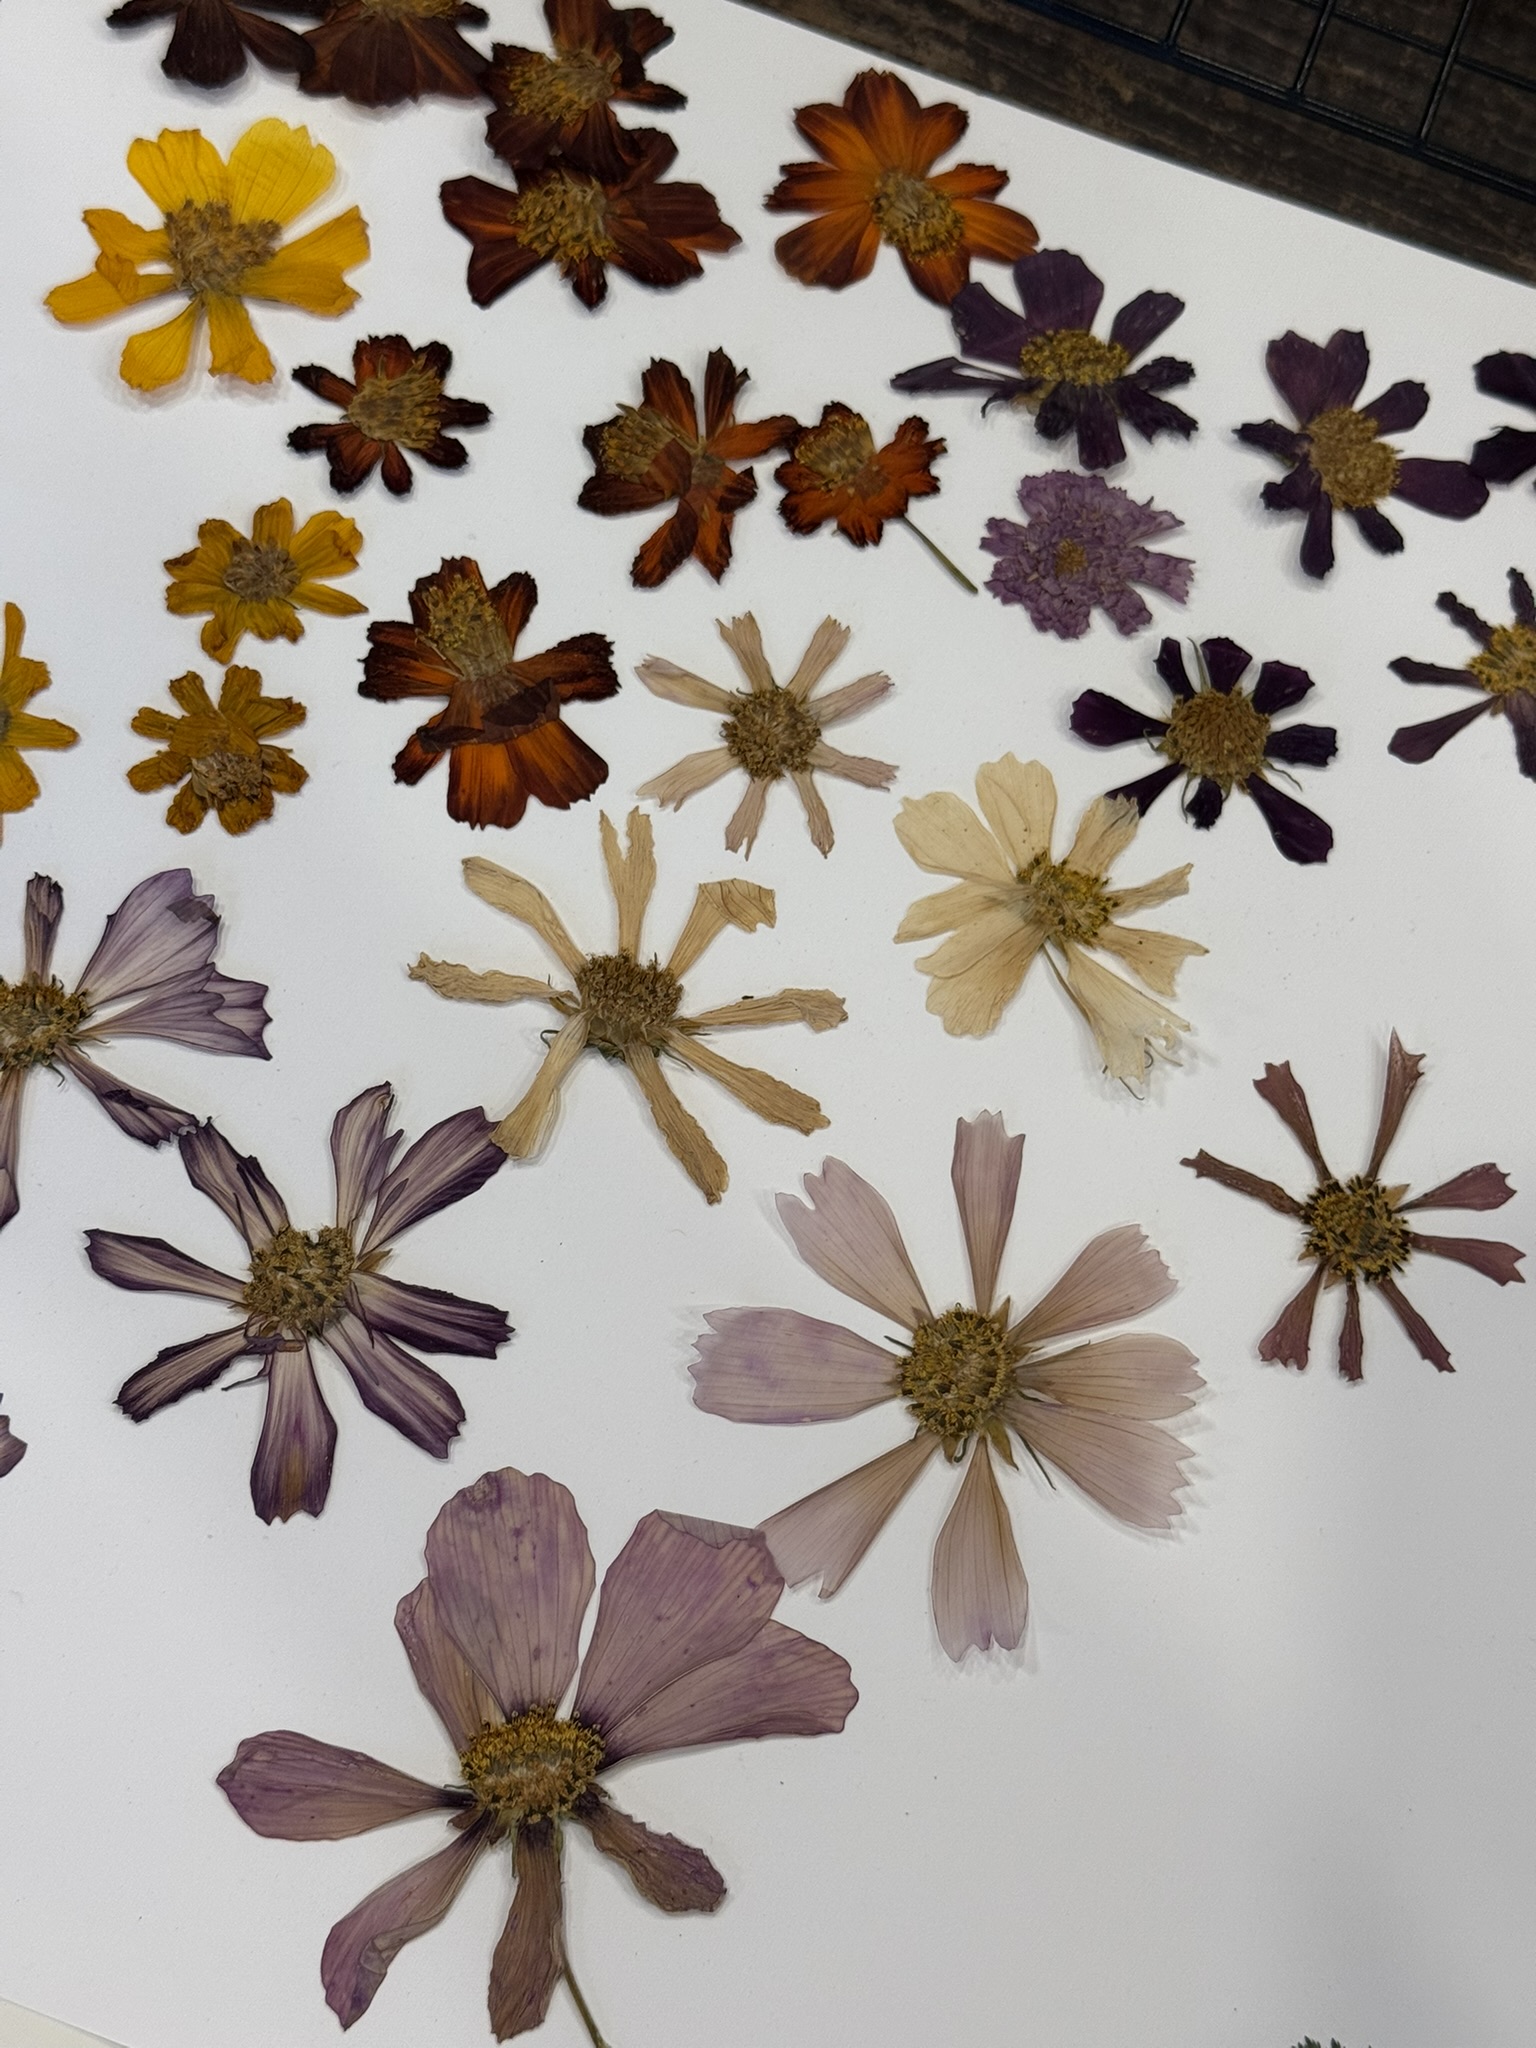
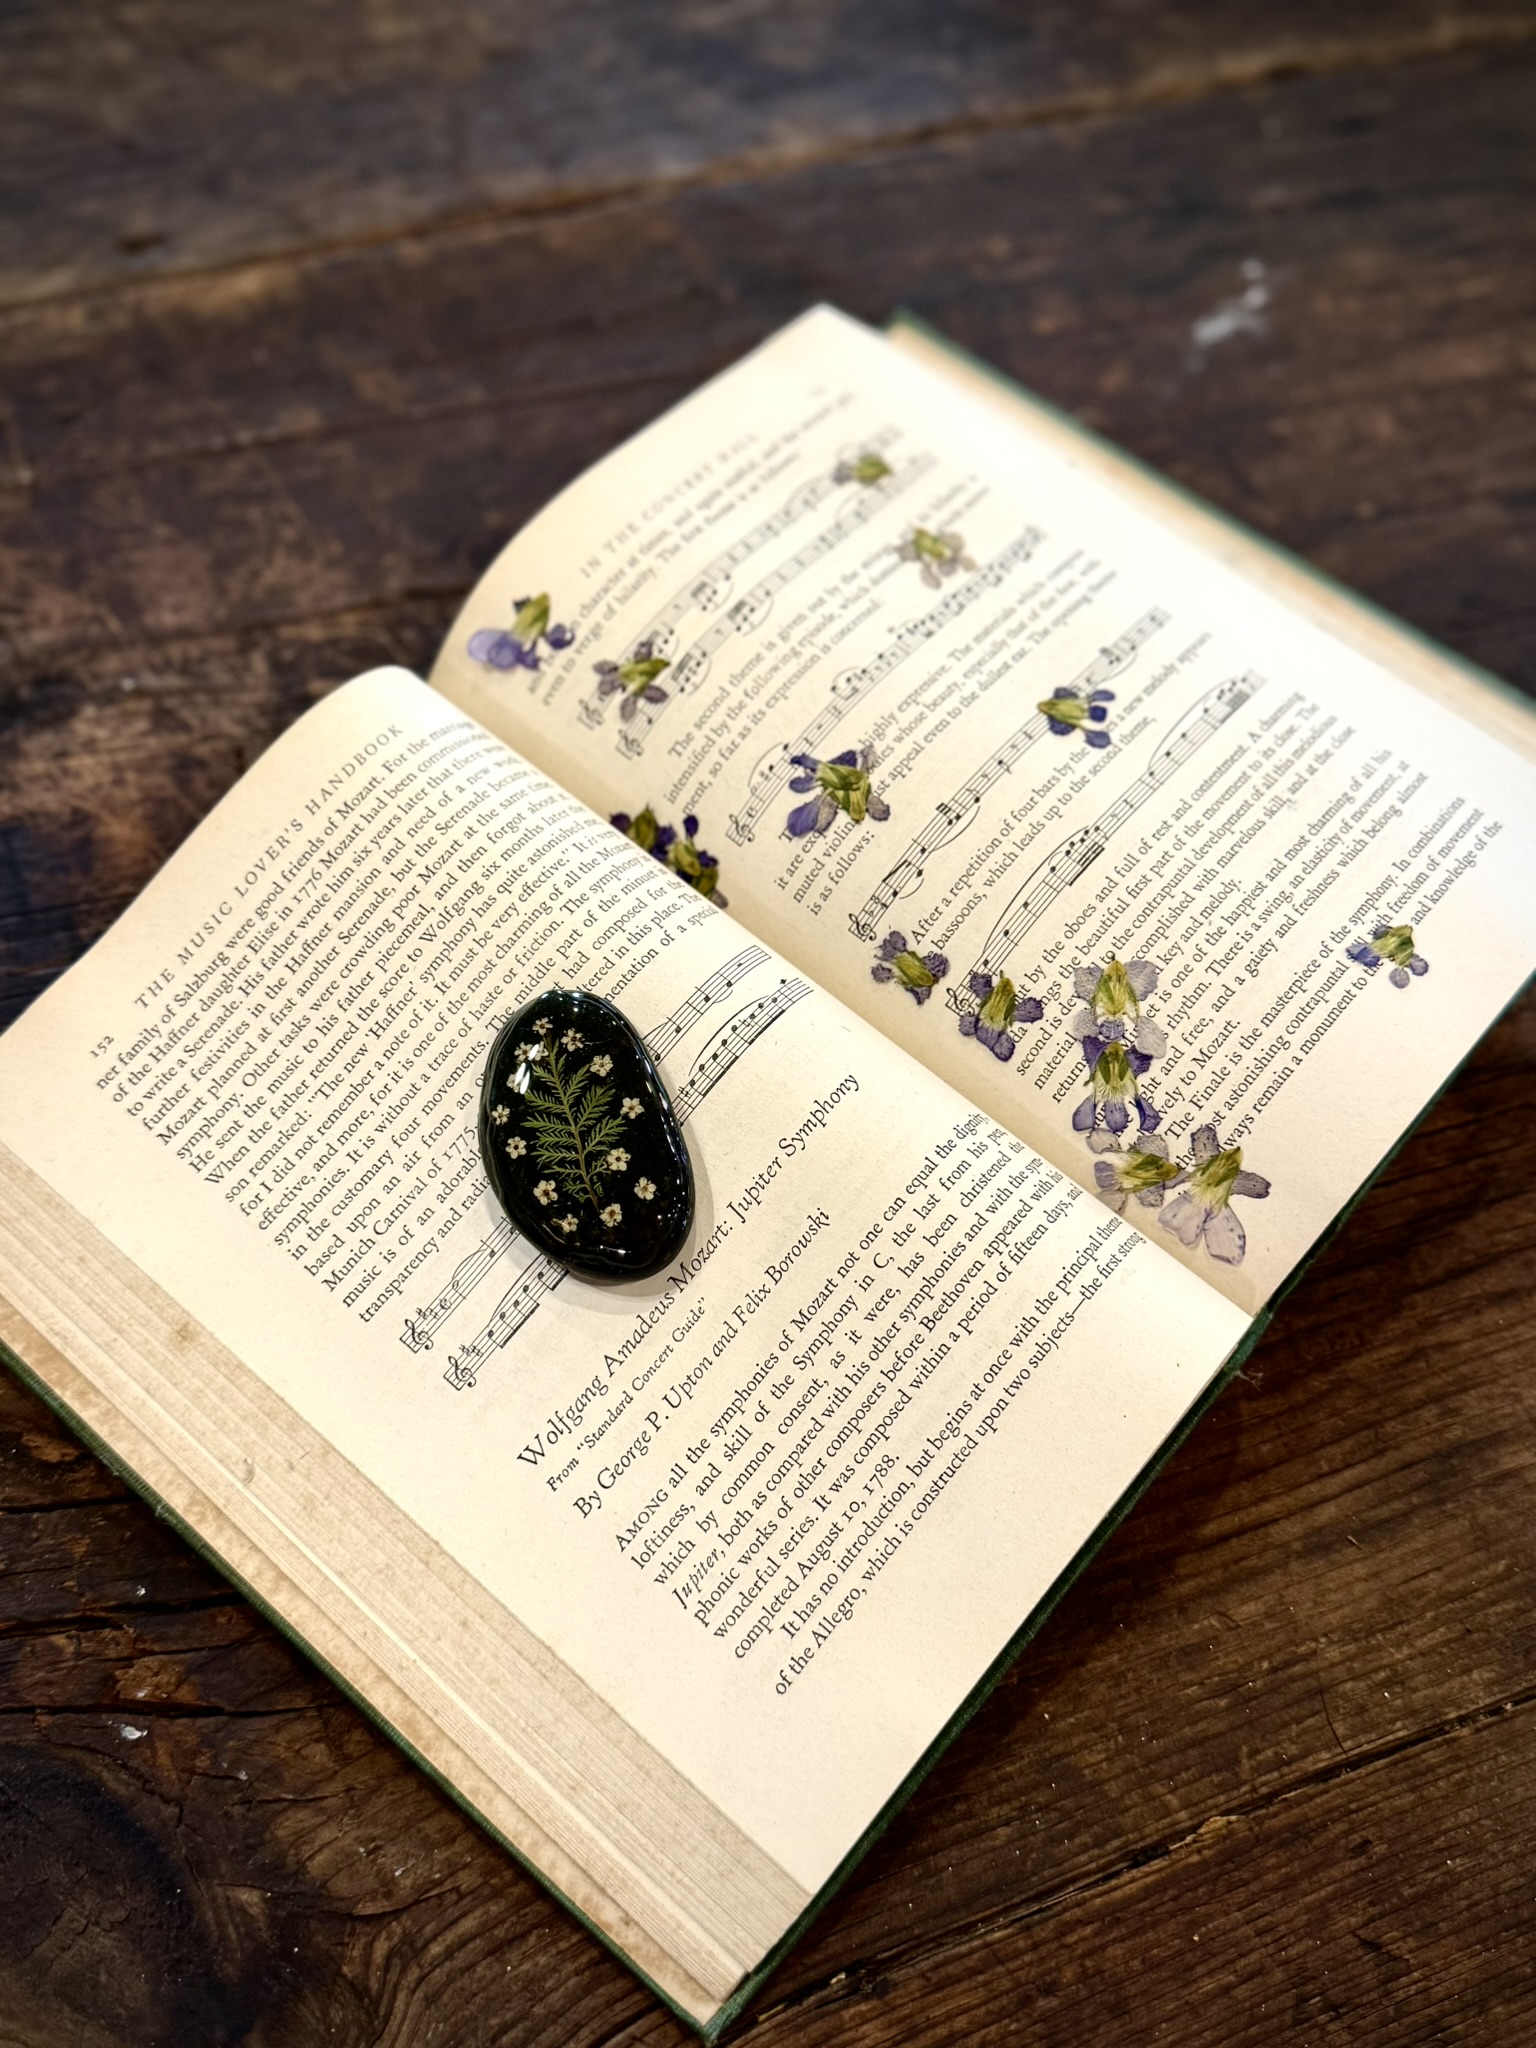
Cosmos, every color — and where pressed flowers end up
Timing
Most flowers are ready in two to four weeks. Some, especially those with high moisture content, take six. The temptation to check too early is real and must be resisted. Opening the press before a flower is ready is how specimens tear. The blotting paper should feel dry to the touch. The flower should feel like paper itself — no give, no flexibility, no sense of the life that was in it.
Picking moment matters as much as pressing technique. Flowers should be harvested mid-morning, after the dew has dried but before the afternoon heat draws out moisture and starts the wilting process. They should go from garden to press within the hour. Every minute between harvest and press is a minute of change that cannot be undone.
"The press is not a pause button. It is a translation device. The flower that comes out is related to the flower that went in the way a poem is related to an experience — true to it, but not the same thing."
What the Dehydrator Taught Me
The coral verbena changed how I understand the whole process.
If I press it straight — snip the bud stem, lay it flat, close the press and wait — what comes out is a flower the same size it was when it was living, but faded. Transparent almost. The color has pulled back from the edges and the whole thing looks like a memory of itself rather than the thing itself.
But if I lay it between two pages of blotting paper, set it under a book on the studio table for two days — just enough to take the moisture down without finishing the job — and then slide it into the dehydrator, something different happens. The water pulls out fast. The form contracts. The flower ends up less than half its living size. And the color, with less surface area to spread across, goes denser. Deeper. More coral, more orange, closer to the living flower than the living flower in a photograph. Sometimes darker.
It is now the anchoring element of the Folklore Collection.
The dehydrator is not a shortcut. It is a different tool that produces a different result. Moving a flower from the blotting paper stage into the dehydrator before it has had time to lose its bulk will collapse it unevenly. But catching it at the right moment — partially pressed, moisture reduced but not gone — and finishing it under heat produces a specimen that a straight press cannot.
I do not use the same process for every flower. I use the process the flower calls for. Some I know immediately. Some I figure out by ruining a season's worth of specimens first.
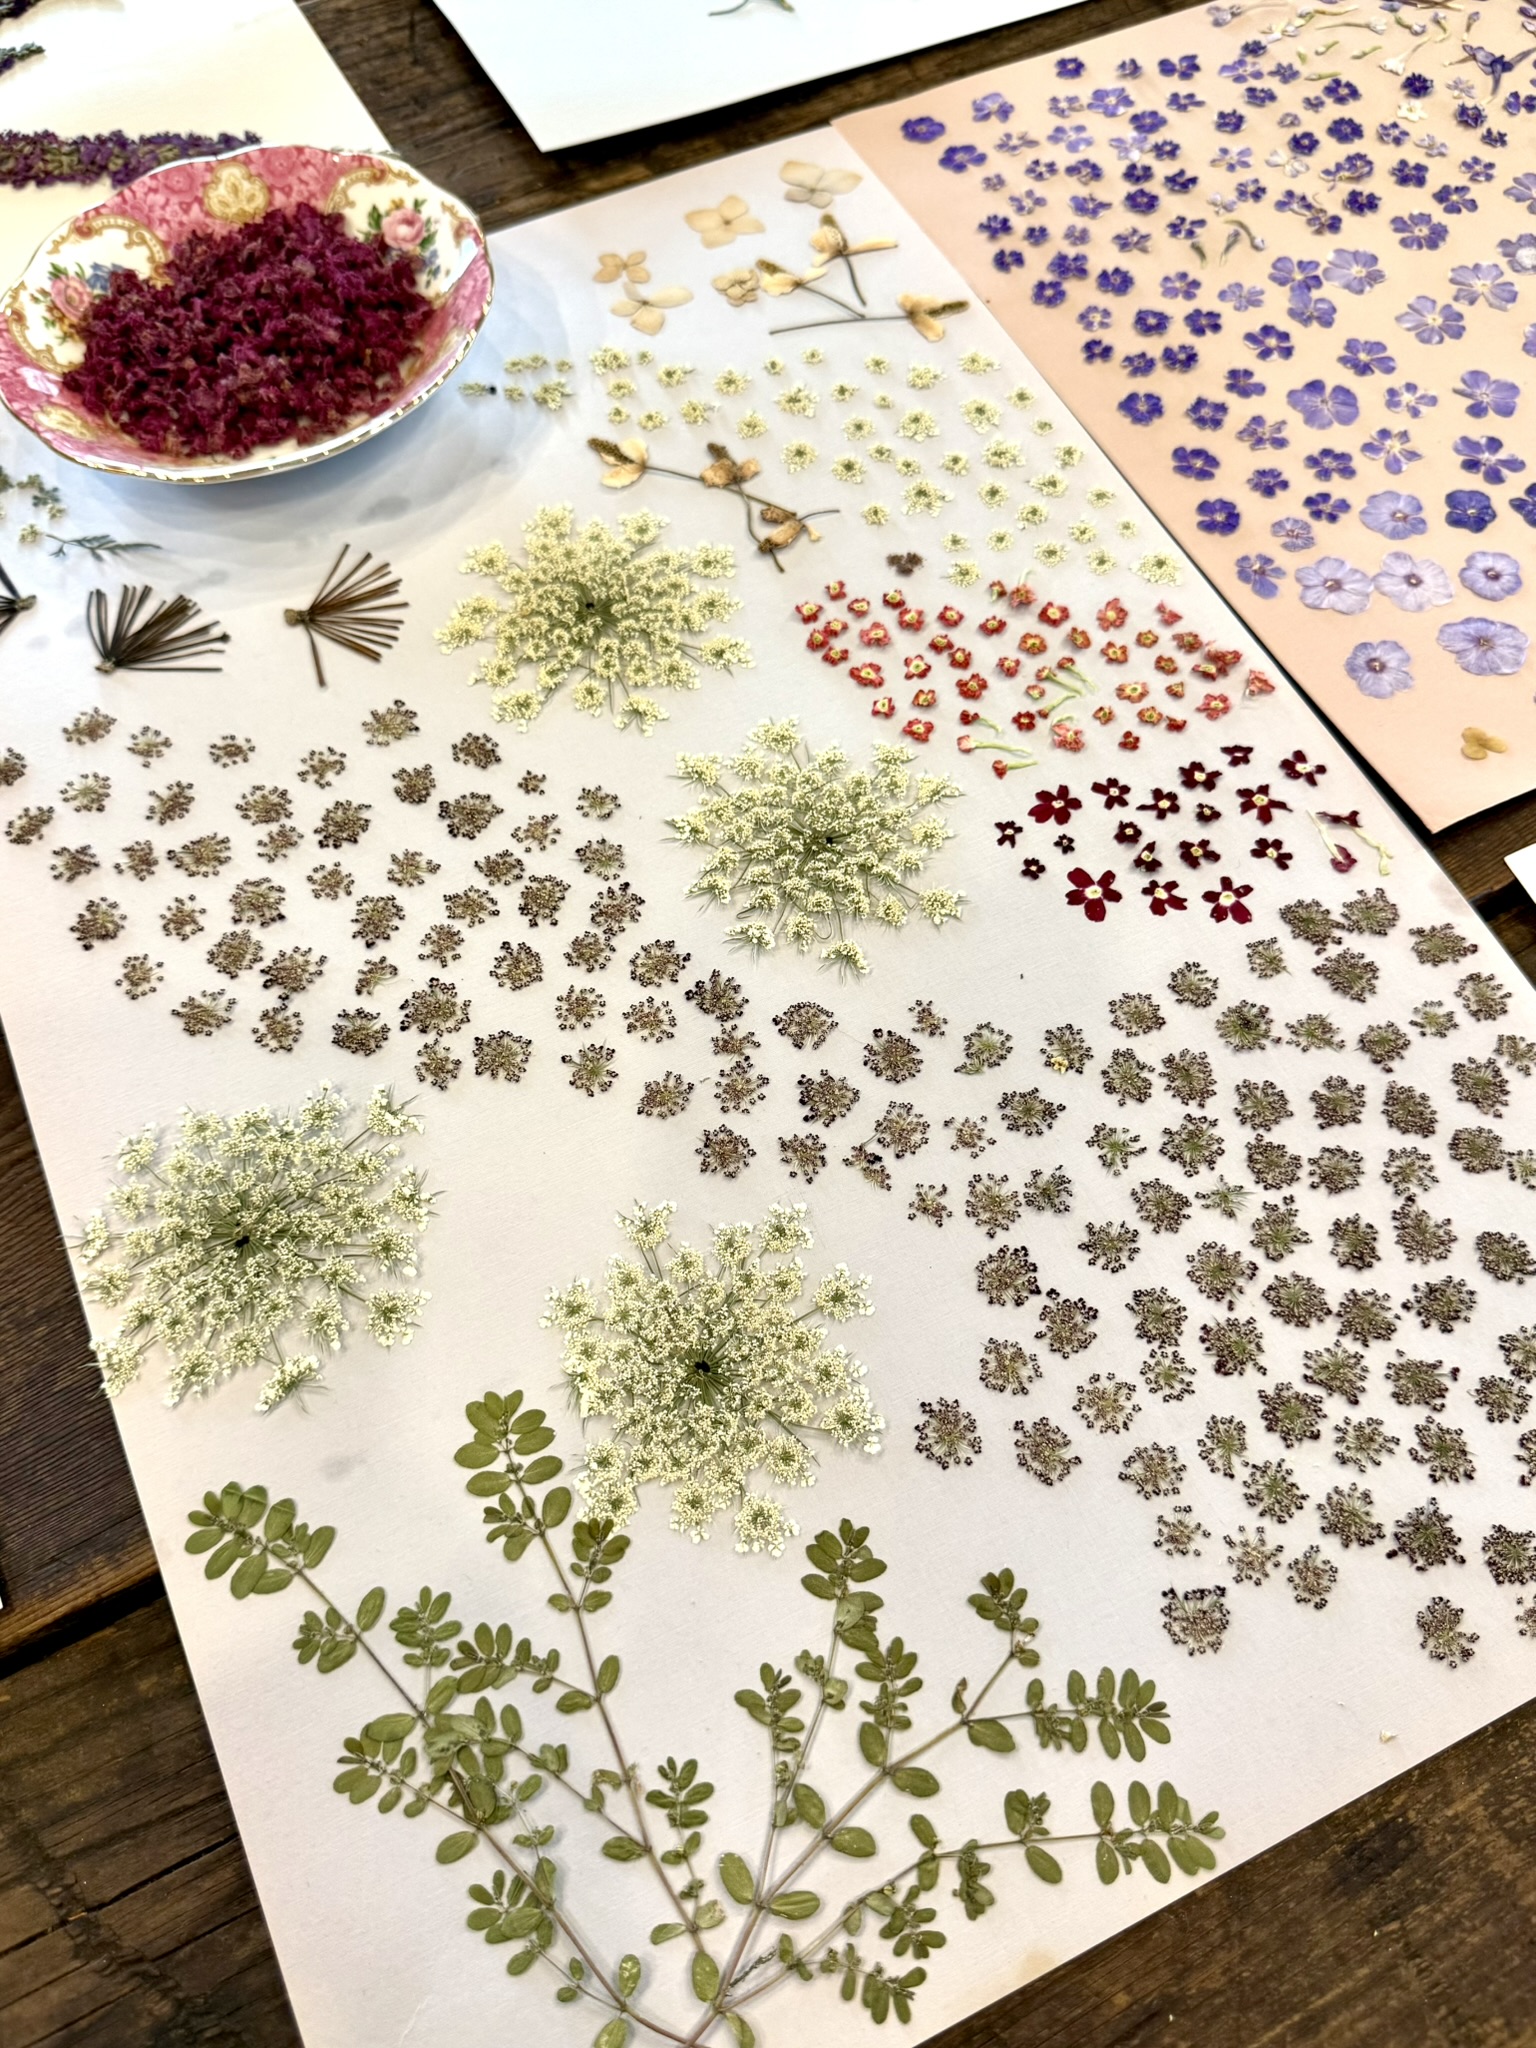
The inventory — each variety sorted, counted, ready. The coral verbena is the small cluster, center right.
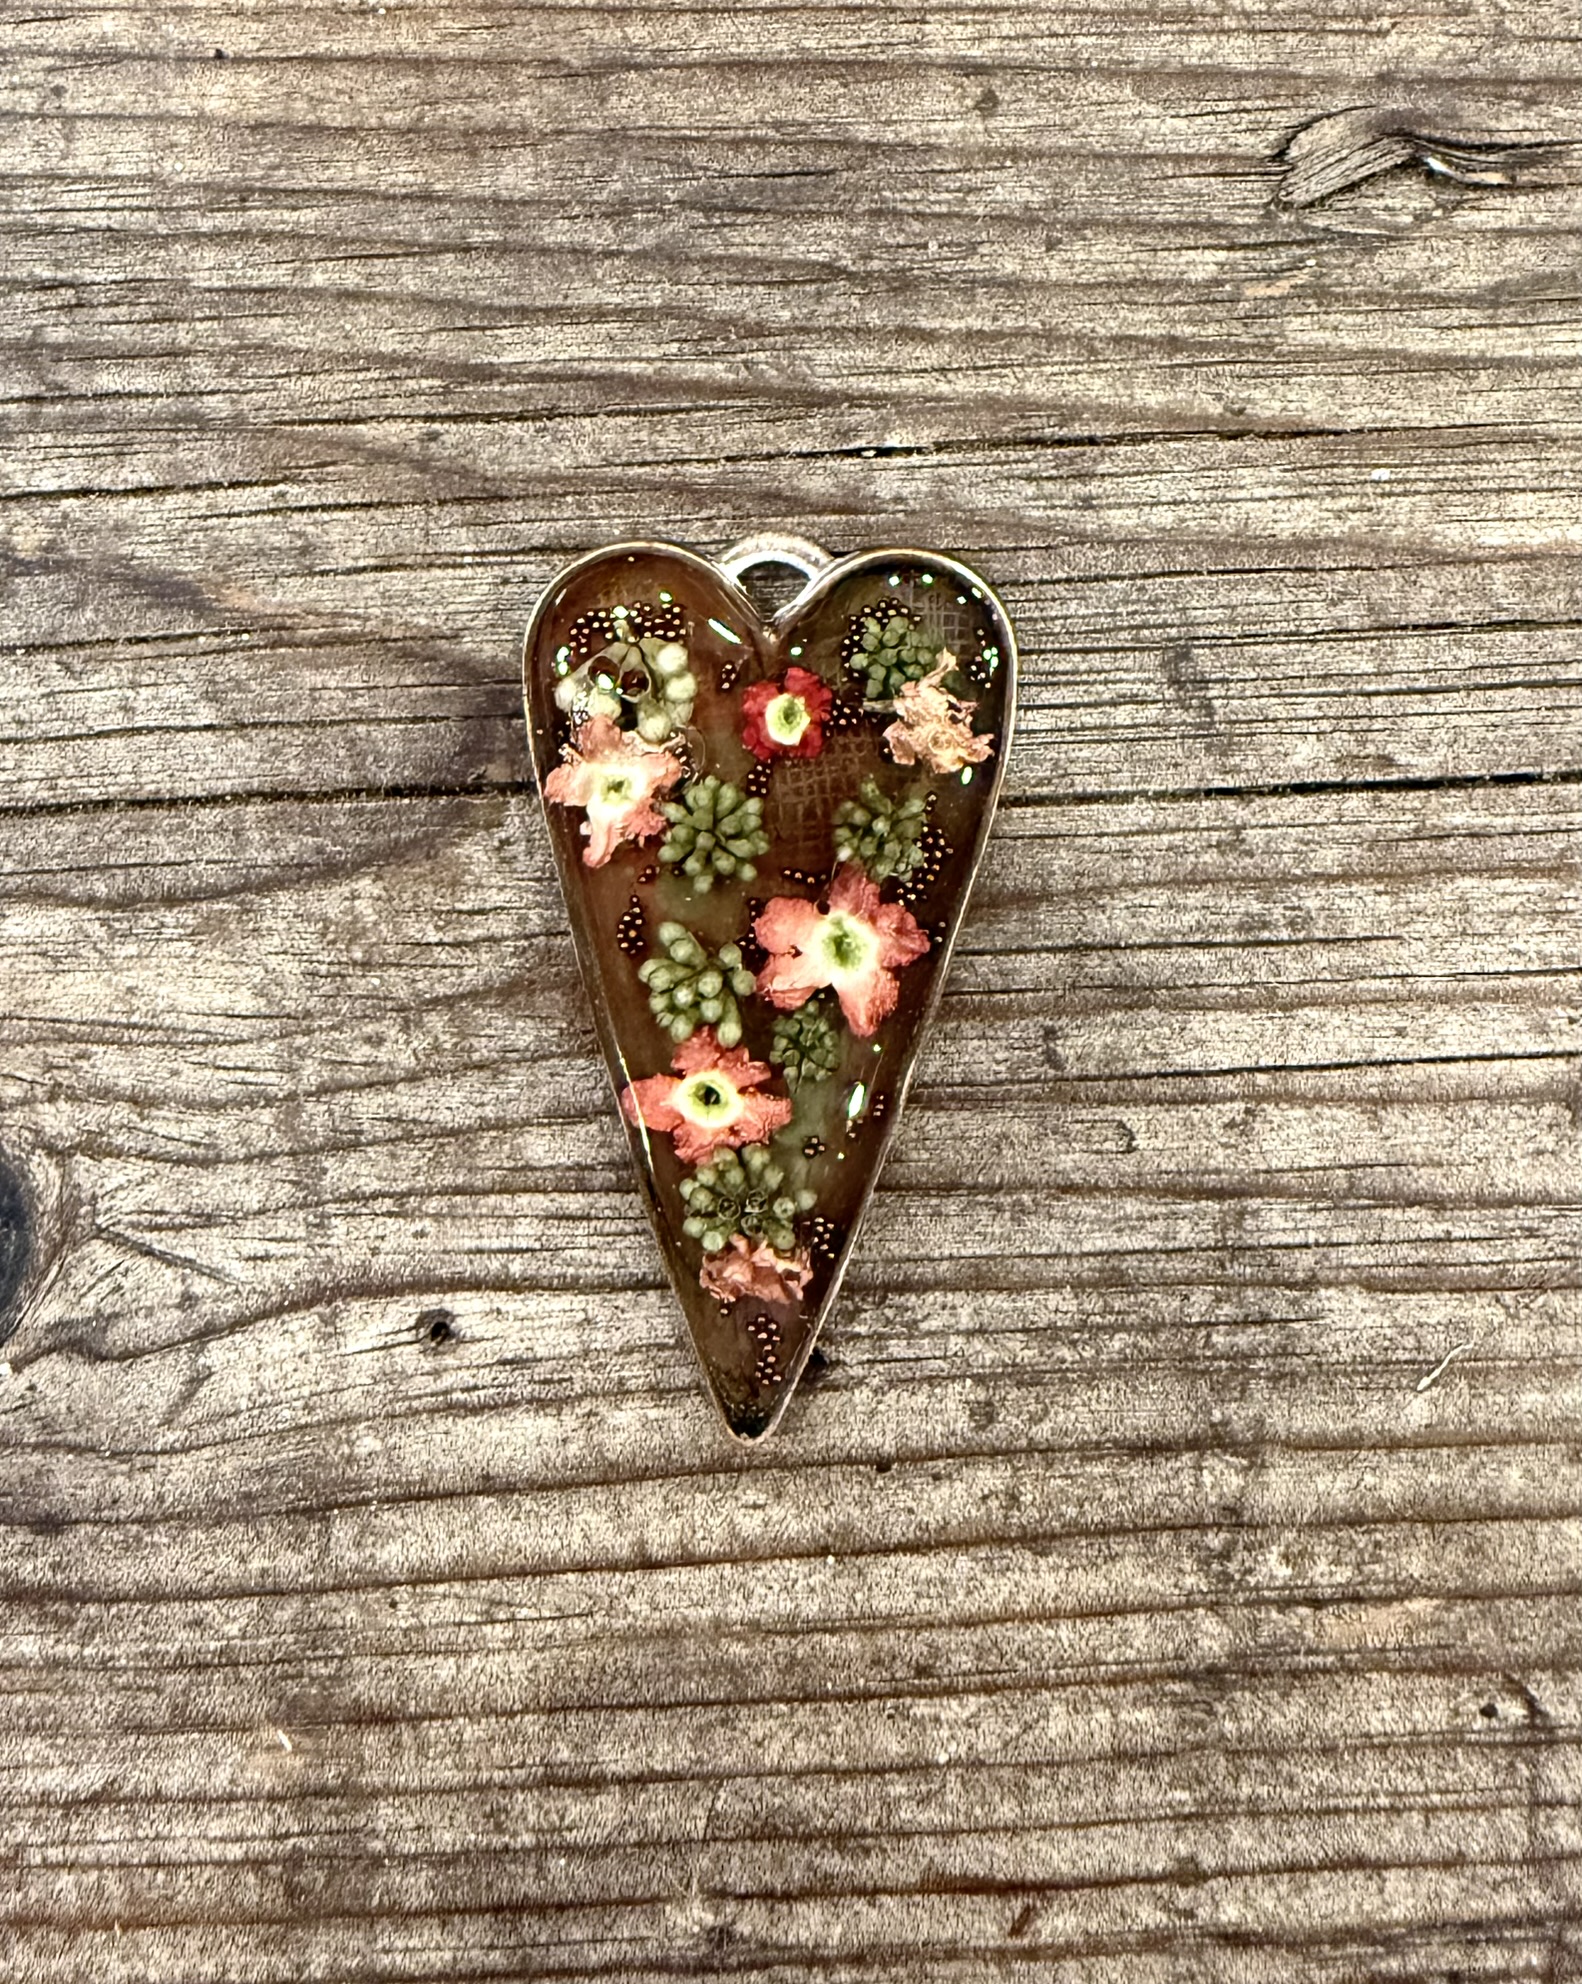
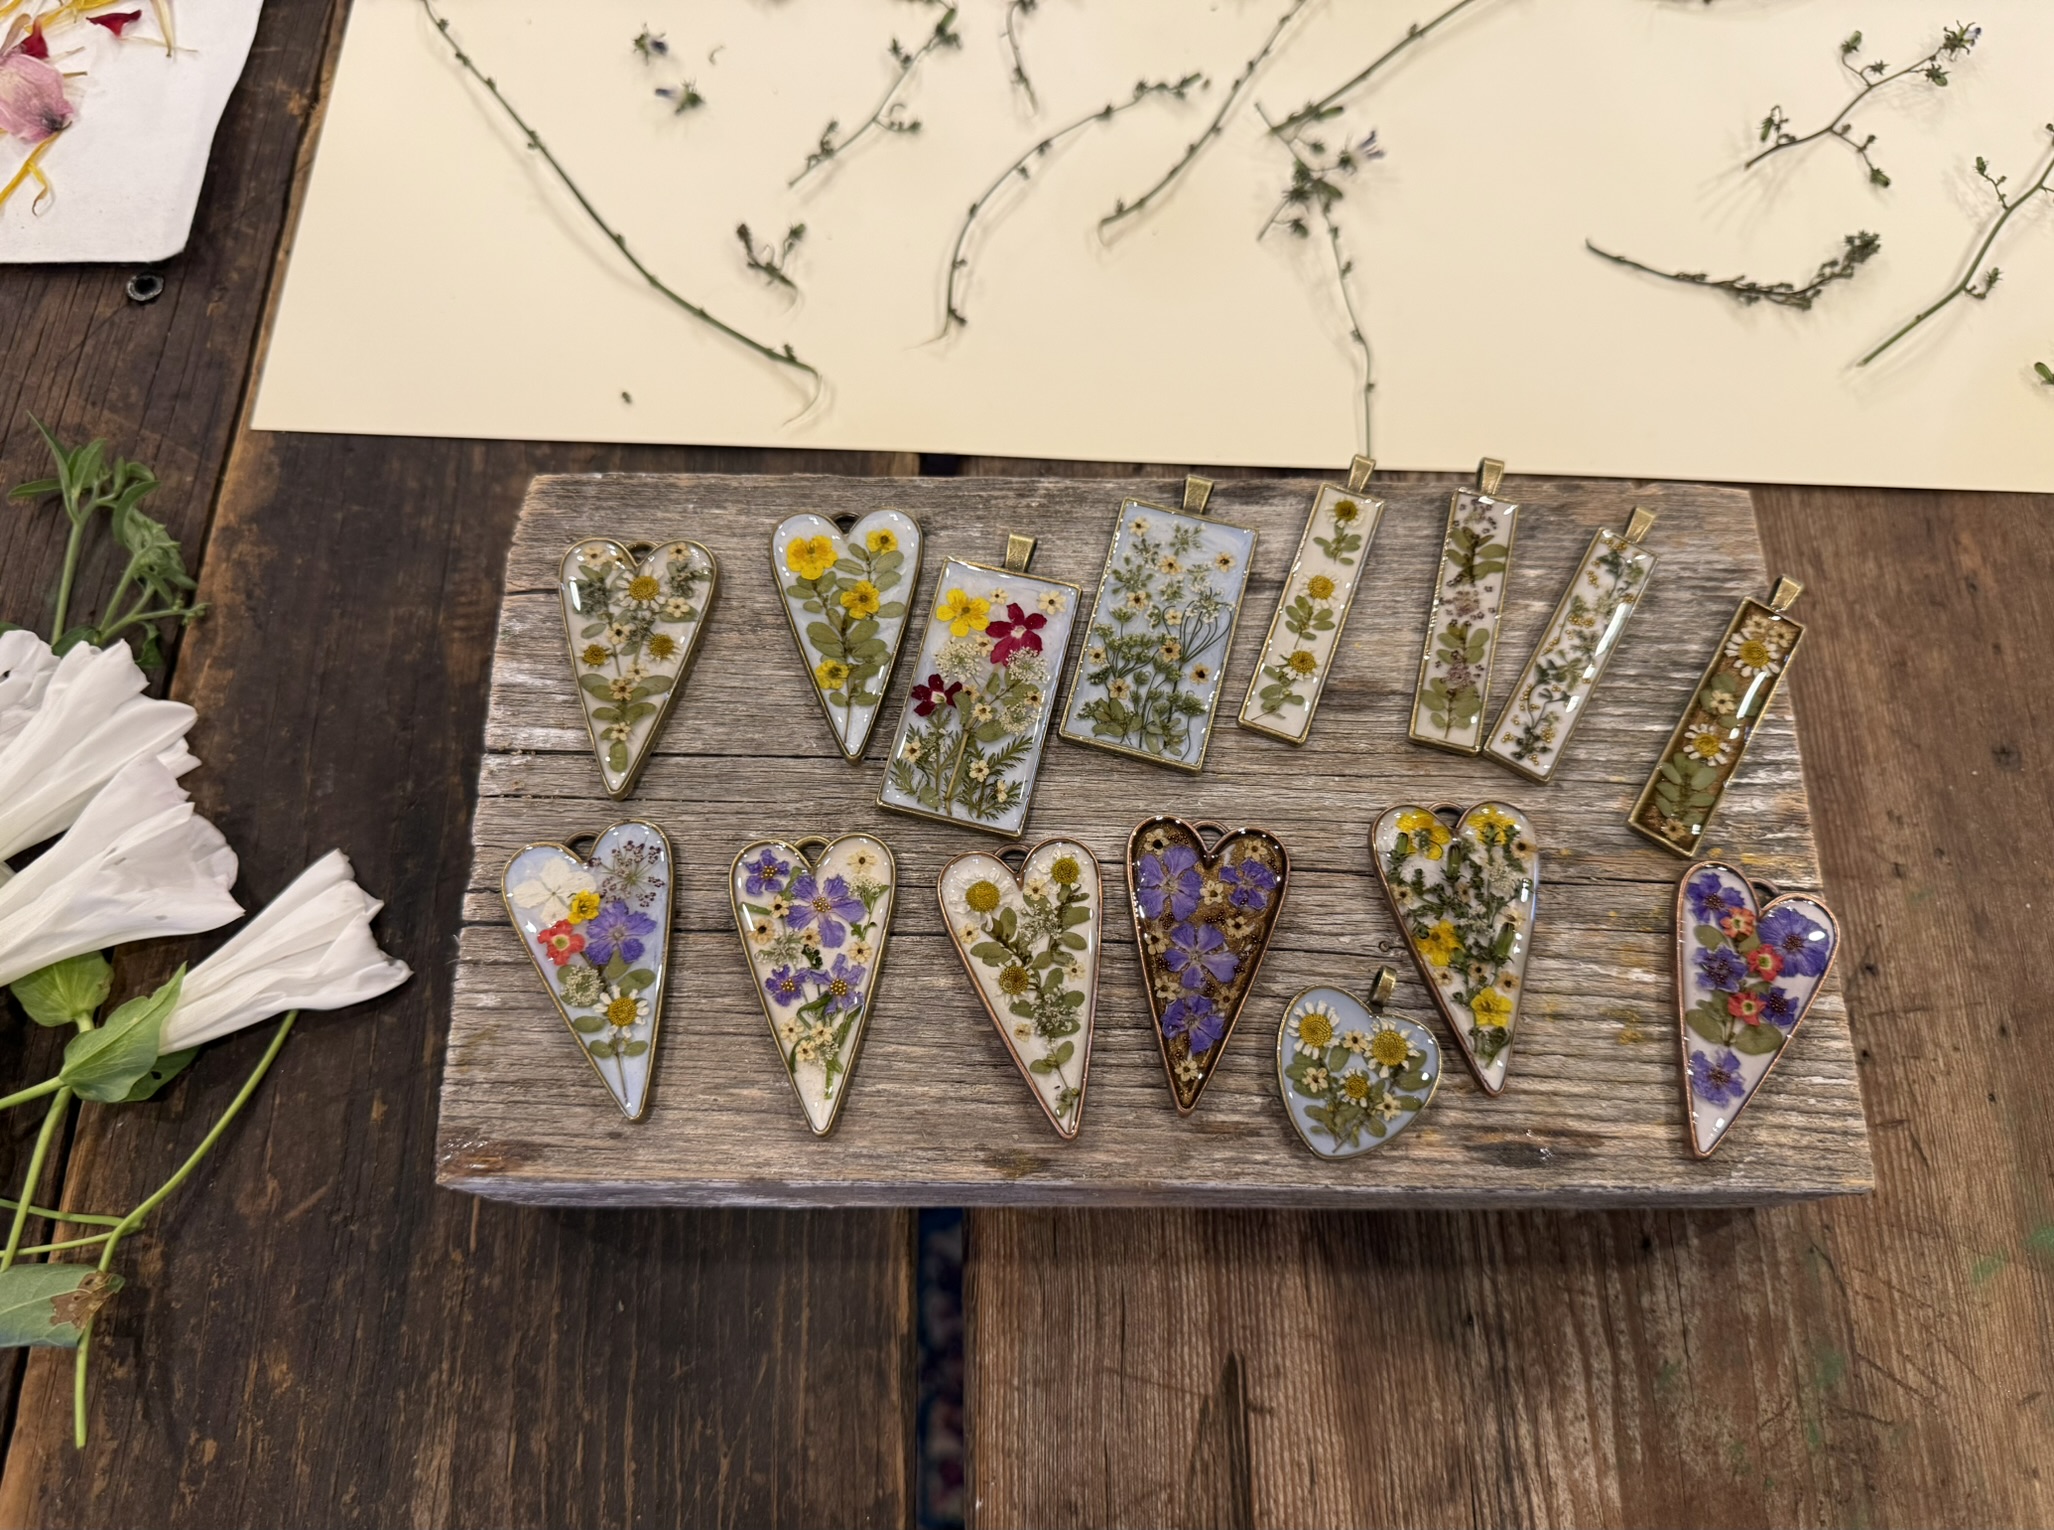
Coral Verbena — foundational Queen of the Folklore Collection, currently working on the side in collaboration with other garden stars as they shape a new collection still finding its edges and depth
From Pressed Specimen to Piece
A pressed flower that becomes a piece of jewelry undergoes a second transformation. It moves from paper to resin, from preserved to encased, from flat specimen to wearable form. Each stage requires decisions: which flower, in which arrangement, at what scale, in what setting, for what purpose.
The pressed flower is the starting point, not the destination. But it is the most critical stage — if the pressing is wrong, nothing that follows can correct it. The work begins in the garden, continues in the press, and finishes at the bench. Three places, one practice.